

The Ultimate Guide to Choosing Your Perfect Travel Hiking Backpack

A travel hiking backpack has to work across two environments: organized transit and changing outdoor conditions. The right choice protects a laptop or travel essentials in the city while also providing enough capacity, fit, access, and weather planning for a trail. Start with the load and route rather than choosing by a rugged photograph alone.
The recommendations below use matching current Woosir product images and linked product titles where the original article already referenced specific products. Confirm live dimensions, device compatibility, capacity, and availability before ordering.
Start with the route and equipment
A short trail from a train station may need water, food, a rain shell, first aid, and navigation. A longer route may add extra clothing, shelter, cooking equipment, or more water. List the bulky items first and choose a capacity that leaves room for the planned trip without encouraging unnecessary packing.
Travel hiking backpack recommendations
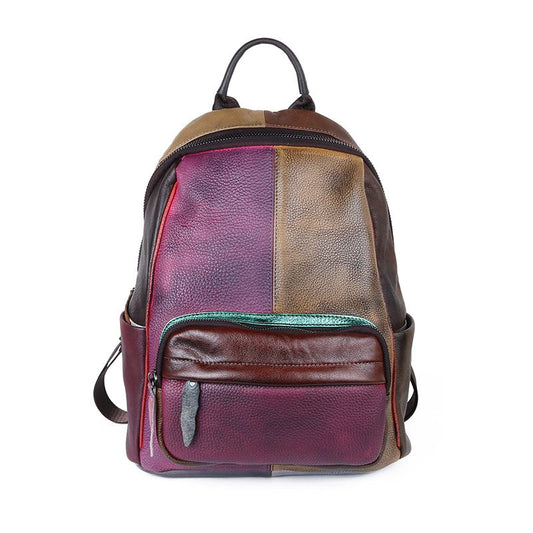
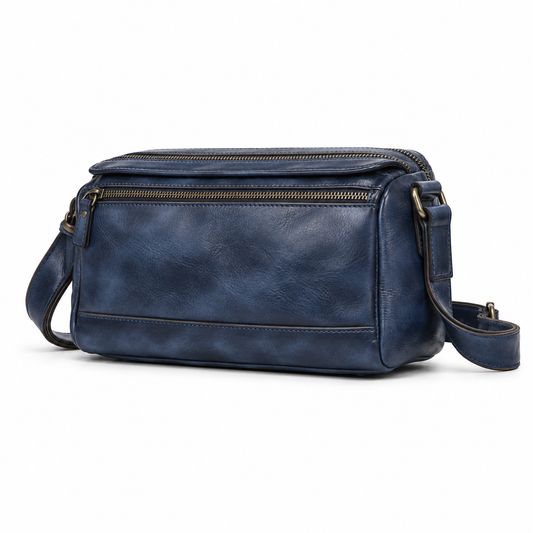
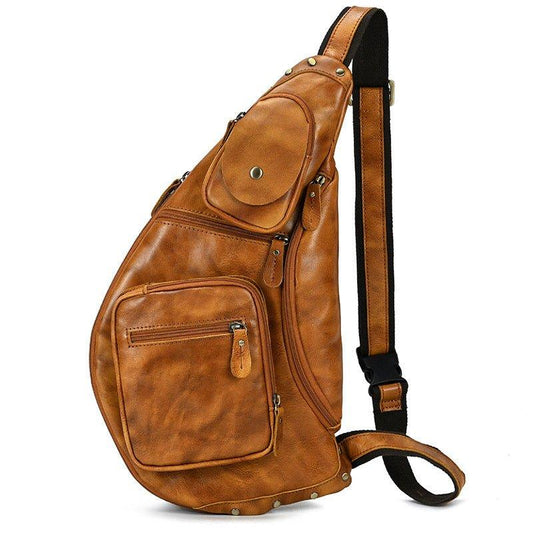
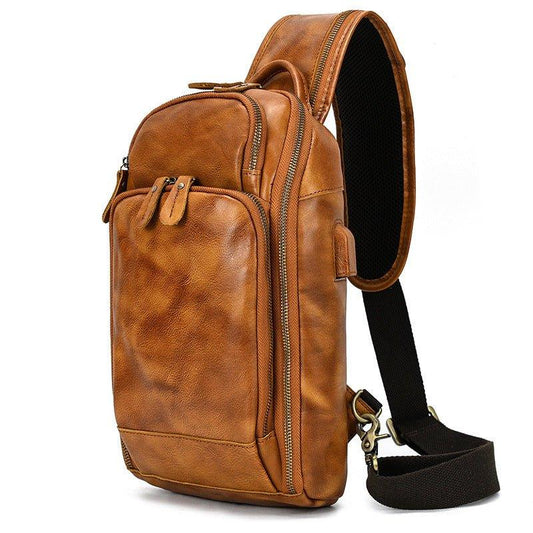
1. For an urban-to-trail laptop carry

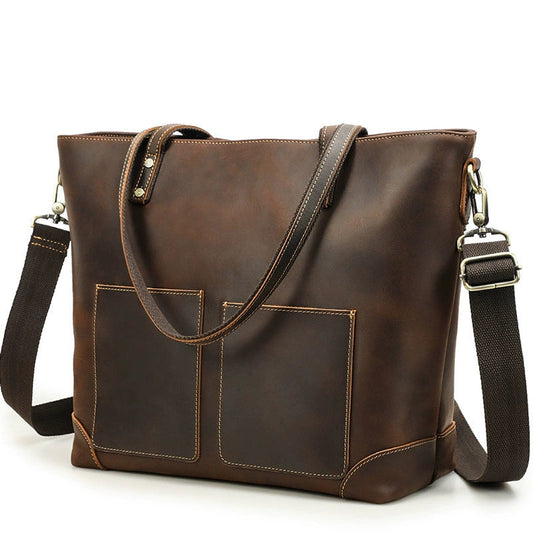
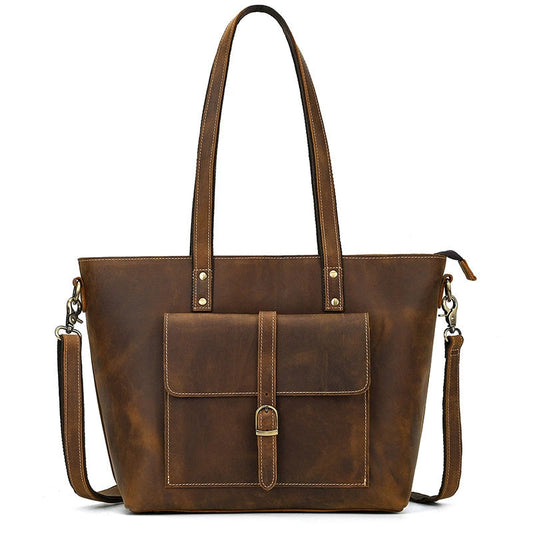
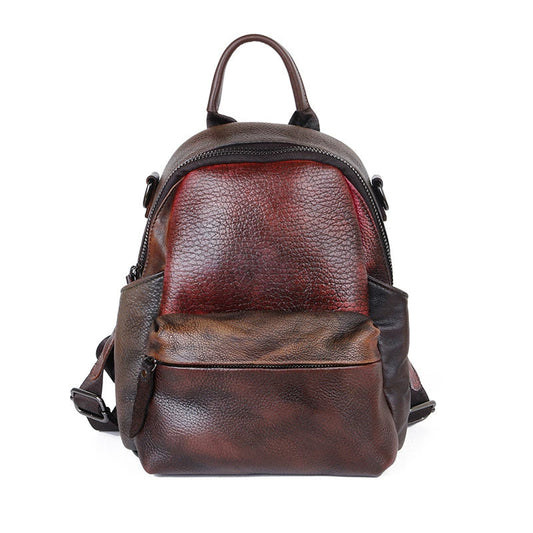
A leather travel backpack with laptop space suits a traveler moving between a city, transport, and a light trail. Confirm the laptop fit and keep the load close to the back.
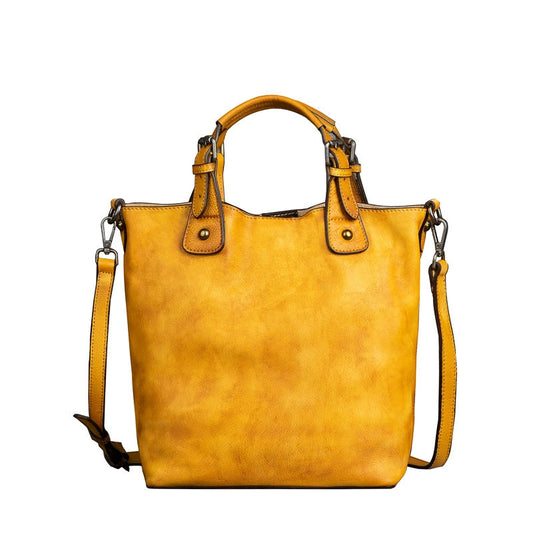
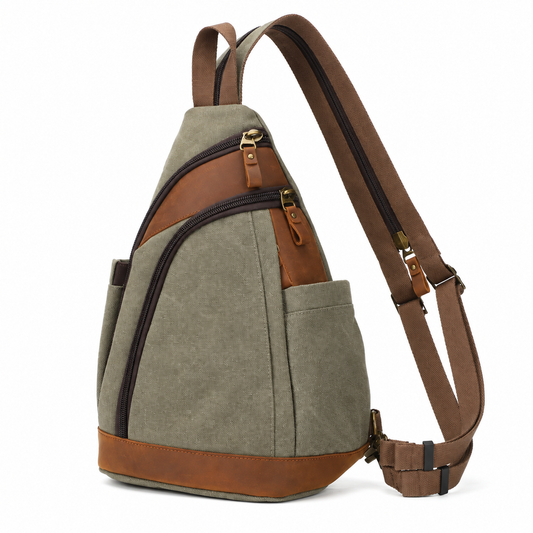
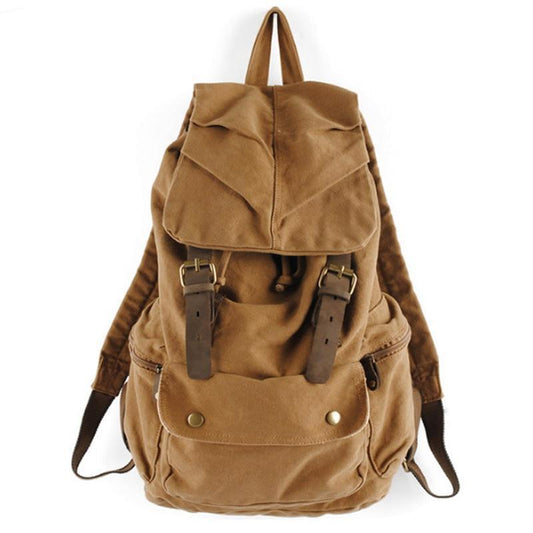
2. For a relaxed outdoor daypack

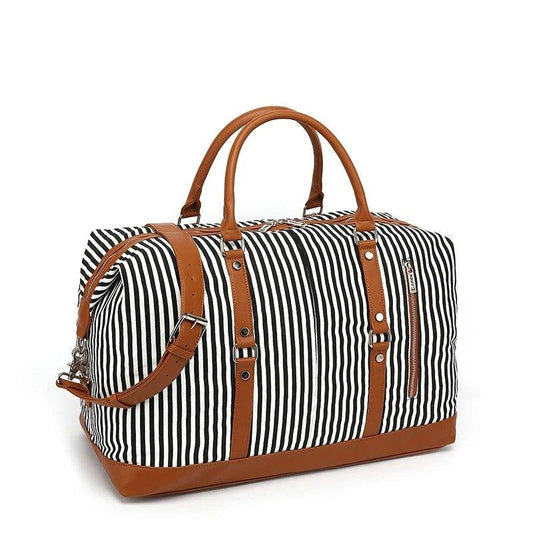
A vintage canvas outdoor backpack offers a softer, casual profile for day hikes and travel overflow. Use a liner when weather is uncertain and keep dense items centered.
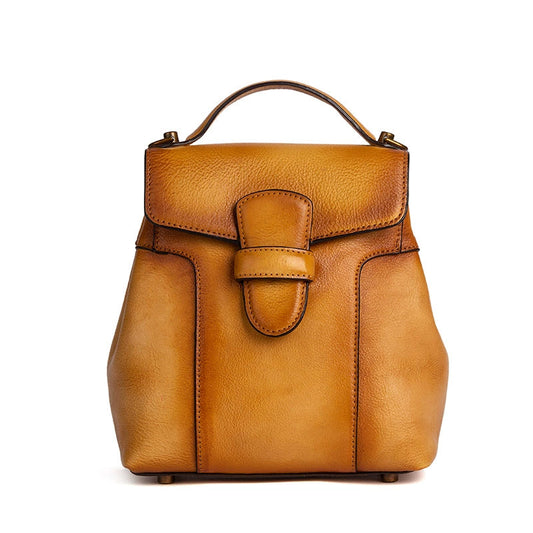
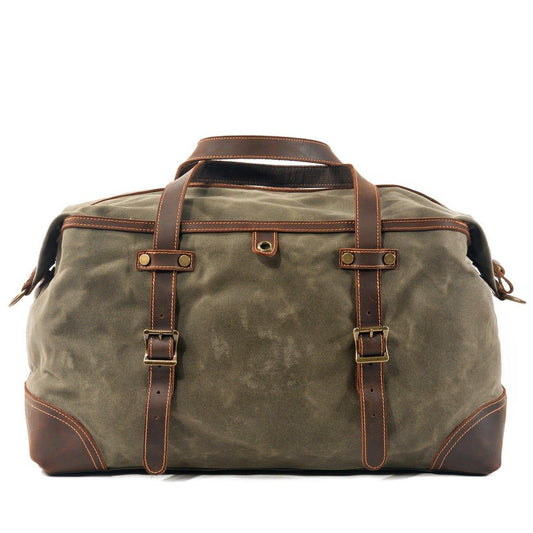
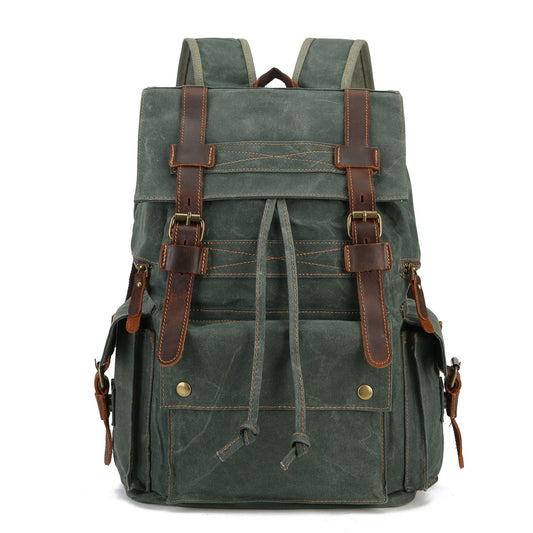
3. For a weather-conscious laptop route

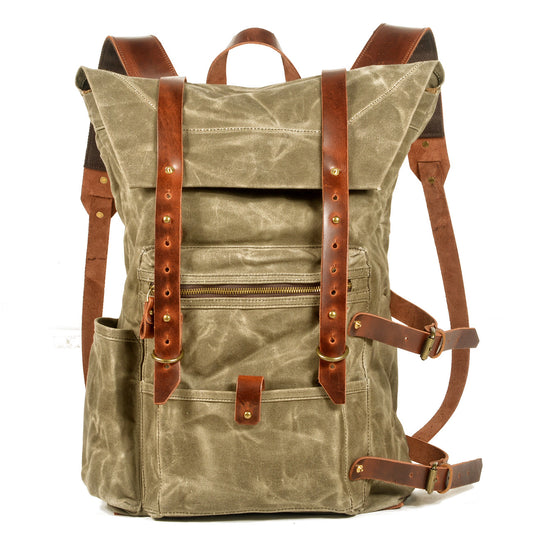
A waxed canvas laptop backpack balances travel organization with a more heritage outdoor material. Check the device sleeve, shoulder straps, and water-resistance limits.
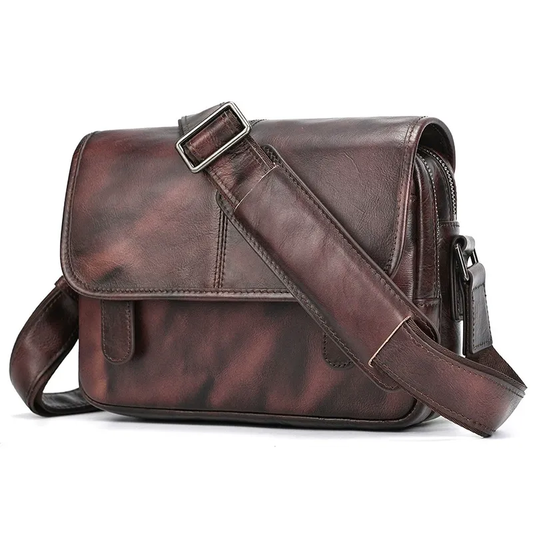
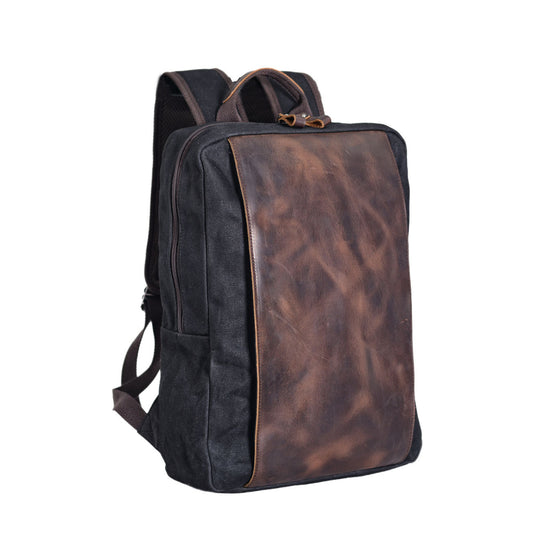
4. For a high-capacity survival load

A 50-liter survival backpack is intended for a larger equipment list. Use its capacity carefully and test the hip belt, compression, and load stability before a multi-day route.
Fit and load control
The hip belt should sit on the pelvis, shoulder straps should follow the body, and the sternum strap should stabilize without restricting breathing. Put dense items close to the back and use compression straps to prevent a partial load from shifting. Test the pack with real water, clothing, and electronics.

Laptop and outdoor protection
A laptop sleeve should keep the device away from the base and dense equipment. Use an additional sleeve or dry bag when the route includes rain. A water-resistant fabric is useful, but it is not a substitute for a rain cover and an inner liner when the computer is important.

Access and maintenance
Keep water, rain protection, navigation, and first aid reachable. After a wet or dusty route, empty the pack, brush grit from zippers, and dry it fully before storage. Inspect strap anchors, buckles, and the base before the next trip.
Final decision checklist
- Match capacity to the actual equipment list.
- Check laptop sleeve dimensions separately from total volume.
- Test hip belt, shoulder straps, and compression with a realistic load.
- Plan for rain with a cover and inner protection.
- Choose the material and profile that fit both transit and trail use.
The ideal travel hiking backpack connects everyday organization with trail stability. Choose the smallest supported format that protects the load, fits the route, and remains comfortable after several hours of movement.
Balance comfort with access
A hiking backpack can feel comfortable in a shop and uncomfortable after an hour because the load changes its shape. Test the pack with a full bottle, jacket, camera or laptop, and the small items you normally carry. Walk, sit, turn, and reach for a side pocket. The best fit keeps the center of mass close without blocking the hips or shoulders.
Access planning is especially important when a backpack moves between airport security and a trail. Keep liquids and electronics in predictable zones, place a rain layer near the top, and avoid burying first-aid supplies beneath clothing. A simple packing map can save time when the weather changes or a checkpoint requires the bag to be opened.
Material choice should follow exposure rather than appearance. Canvas can offer a distinctive hand feel and useful durability, while a coated or waxed surface may help with light moisture. Neither removes the need for a rain cover, careful drying, and protected device storage. Treat water resistance as one part of the system, not the whole system.
Finally, compare the packed weight with the route. Capacity that is useful for a remote trip may be excessive for a train-to-trail day. A smaller bag that remains stable can protect the body and the equipment better than a large bag that invites overpacking. Choose enough room for the planned load, then leave the rest unused.
Plan the transition from city to trail
The most useful pack is often the one that handles the transition between a station, a hotel, and a trailhead without a complete repack. Keep travel documents and devices in protected sleeves, use one quick-access pocket for navigation and snacks, and reserve the main cavity for clothing and outdoor layers. This arrangement keeps urban essentials separate from dusty or wet equipment.
Before committing to a capacity, make a floor layout of the load and measure the longest item. Then test the backpack at partial and full capacity. A pack that works only when perfectly filled may be frustrating on shorter outings, while a pack that compresses well can serve more than one route. Choose the format that remains stable as the itinerary changes.
A final comparison should include the time spent carrying the pack, not just the number of liters. Walk the expected route with the intended load, test access while standing, and verify that the device compartment does not compete with water or clothing space. A pack that supports the body and keeps essential items reachable will usually serve more trips than one chosen only for maximum capacity or a rugged appearance.
A travel hiking backpack should also fit the transition between transport and trail. Keep documents and electronics in protected zones, then place outdoor equipment where it can be reached without unpacking the whole bag.
Related Woosir resources
Use these related collection and product pages to compare current materials, sizes, care details, and available variants before making a final decision.