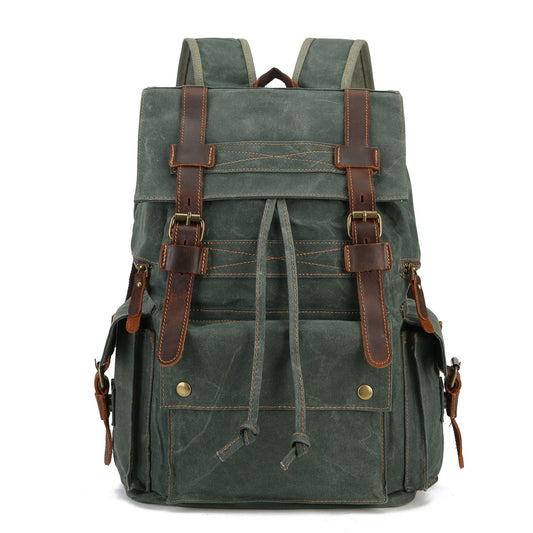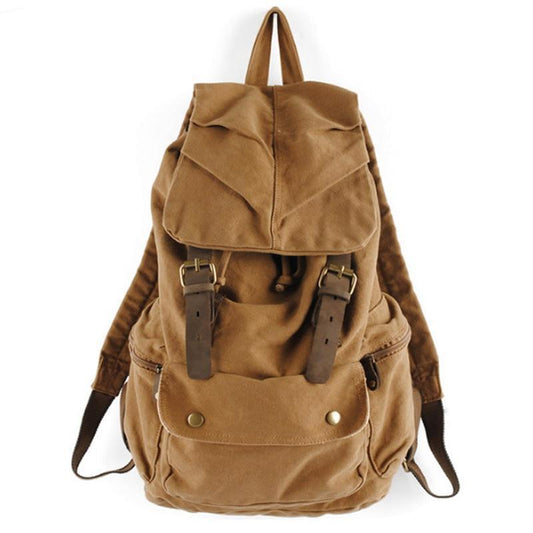

How to Choose a Tactical Bag for Outdoor Adventures: Materials, MOLLE & Load Systems for 2026

Choosing a tactical bag for outdoor adventures is a load-system decision, not a question of how many straps or webbing rows appear on the exterior. Material, MOLLE attachment, access, fit, weather planning, and the weight of every pouch determine whether the bag helps on the trail or becomes an uncomfortable collection of accessories.
This 2026 guide is for civilian hiking, range-free outdoor travel, camping, and utility carry. Compare the real load and current product details on the Woosir page before ordering.
Define the activity and load
Start with the route, duration, and objects that must remain reachable. A day hike may need water, a layer, food, navigation, first aid, and a phone. A work-to-outdoor routine may add a laptop or tools. The activity should decide the capacity before the tactical appearance does.
Write the load in weight and volume terms. Empty bag weight matters because webbing and modular panels can add material without adding useful carrying comfort. Choose enough room for the essentials and a little weather flexibility, not space for every possible accessory.
Material and abrasion resistance
Outdoor use exposes a bag to rock, branches, dirt, and wet ground. Inspect the fabric weave, base, seam binding, zipper quality, and the areas around shoulder anchors. A strong material is valuable only when the stitching and pattern spread the load correctly.
Consider cleaning and drying as well. A bag used near mud or salt water should have a base and lining that can be wiped and aired. Avoid assuming that a darker or thicker fabric is automatically more weather resistant.
Use MOLLE with restraint
MOLLE rows can add useful capacity when a pouch solves a specific problem. Attach a first-aid pouch, water carrier, or small tool pocket only when it improves access or balance. Empty webbing is not organization, and every added pouch increases weight and snag risk.
Place accessories symmetrically when possible and check that they do not interfere with the shoulder strap, hip belt, or arm movement. Walk, bend, and sit with the full modular setup before adding another attachment.
Access and internal organization
Keep safety and navigation items reachable, while heavier objects remain close to the back. Use inner pouches for batteries, food, and personal items so small objects do not sink beneath the main load. A tactical exterior should still have a simple interior map.
Check whether the opening can be used with one hand and whether the bag stays secure when set down. Quick access is valuable on a trail, but every exposed pocket should have a closure that matches the environment and the contents.
Fit, straps, and load transfer
Adjust the shoulder straps so the bag sits close and high enough to remain stable. A sternum strap can reduce side-to-side movement, while a hip belt becomes more useful as the load and distance increase. Place dense gear near the back and centralize water.
Test the pack with the clothes and footwear used on the route. A fit that works over a thin shirt may change under a rain jacket. Walk uphill, sit, reach, and remove the pack several times before deciding the harness is comfortable.
Weather and maintenance
A water-resistant exterior does not protect an open pocket or an unsealed zipper. Use dry pouches for electronics and documents, keep the opening closed, and add a cover when the forecast requires it. Separate wet layers from food and sensitive equipment.
After the outing, empty the bag, brush away grit, and let it dry fully. Inspect buckles, webbing, zipper tracks, and MOLLE stitching. Remove accessories that are no longer needed so the next trip begins with a controlled load.
Tactical bag checklist
- Match capacity to the activity and measured load.
- Inspect fabric, base, seams, zippers, and strap anchors.
- Add only MOLLE pouches that solve a clear access problem.
- Test fit and movement with the full modular setup.
- Use inner weather protection and reset the bag after every outing.


A tactical bag becomes more useful when the setup is deliberately simplified before each outing. Start with the base pack, add water, a layer, food, navigation, and first aid, then walk the route with that load before attaching extra pouches. If a pouch is not accessed or does not solve a clear problem, leave it at home. This reduces snagging, keeps the center of gravity predictable, and makes the bag easier to move through a car, trail gate, or public space. Check that the modular layout does not cover the main zipper or press against the shoulder straps. After the trip, remove mud and moisture, inspect the webbing, and return only the attachments needed for the next activity. A disciplined load system protects the body and the bag while preserving the flexibility that makes MOLLE useful.
Review the setup after the activity rather than leaving every pouch attached permanently. Outdoor, commuting, and travel loads have different access needs. Removing unused attachments keeps the bag lighter and makes the next configuration intentional.
A controlled setup also makes the bag less conspicuous in ordinary public spaces. Keep specialist accessories inside when they are not needed and let the outdoor load determine what stays visible.
Related Woosir resources
Use these related Woosir pages to compare current materials, dimensions, care details, and available variants before making a final decision.