
How to Choose a Camera Bag for Travel Photography: Size, Protection & Access (2026)

Choosing a camera bag for travel photography is one of those decisions that seems trivial until you are standing in a rain squall outside Reykjavik trying to swap a lens with one hand while your bag slides off your shoulder. The right bag disappears into your workflow. The wrong one becomes the reason you leave the 70-200mm in the hotel room. This guide walks through the three variables that actually matter — size, protection, and access — and shows you how to weigh them against the kind of travel you genuinely do, not the trips you imagine taking.
We have written before about the material debate between canvas and leather. This is a different conversation. Here we are talking about fit: how a bag matches your body, your kit, your airline, and your shooting rhythm. Get that right and material becomes a question of taste rather than function.
Start With the Kit, Not the Bag
Almost every bad camera bag purchase starts the same way: someone falls in love with a bag and then tries to make their gear fit it. Reverse the order. Lay every piece of equipment you actually carry on a table and photograph it. Not the gear you own — the gear you carry.
For most travel photographers in 2026, the working kit looks something like this:
- One mirrorless body (or two, if you shoot professionally)
- A fast prime — usually 35mm or 50mm equivalent
- A versatile zoom, typically 24-70mm or 24-105mm
- Optionally, a telephoto or ultra-wide for specific work
- Three to five batteries and a dual charger
- Two to four memory cards in a hard case
- A microfibre cloth, blower, and lens pen
- A travel tripod or monopod, depending on the assignment
- A laptop or tablet for backups, plus a portable SSD
Measure the stack. A body with a zoom attached is typically 18-22cm tall. Two additional lenses stacked side by side add roughly 20cm of width. That gives you an internal compartment target of around 30 x 22 x 15cm for a standard travel kit — before you add a single item of clothing or a rain shell.
The One-Third Rule
Here is a heuristic that has saved more trips than any spec sheet: your camera gear should occupy no more than two-thirds of the bag's total volume on a travel day. The remaining third absorbs a jacket, water bottle, snacks, a paperback, and whatever you buy at the market. A bag packed to 100% capacity with gear alone is a bag you will hate by lunchtime, because every real-world addition has nowhere to go.
Sizing a Camera Bag for Travel Photography
Capacity is measured in litres, but litres lie. A 20L bag with a boxy profile holds far more usable camera volume than a 25L bag with a tapered, rounded shape. Look at internal dimensions and divider layout rather than the headline number.
That said, litre ranges are useful as a starting point:
- 8-14L — Sling or small shoulder bag. One body, one or two lenses. Ideal for street work in Lisbon, Osaka, or Mexico City where you want to stay light and unobtrusive. Not suitable for a laptop.
- 15-22L — Compact backpack or messenger. Body plus two to three lenses, a 13-inch laptop, and a light jacket. This is the sweet spot for the majority of travel photographers.
- 23-32L — Full travel backpack. Two bodies, three to four lenses, a 15-16 inch laptop, tripod attachment, and a day's worth of personal items. Still carry-on legal on most carriers.
- 33L and above — Expedition capacity. Multi-day self-supported shoots, drone kits, lighting gear. Expect to check it or gate-check it on smaller aircraft.
The Carry-On Reality Check
Airline sizing has tightened again in 2026, and it varies more by region than most photographers expect. European low-cost carriers routinely enforce a 40 x 20 x 25cm personal item limit, with the larger 55 x 40 x 20cm cabin bag sold as a paid extra. North American legacy carriers remain more generous at roughly 56 x 36 x 23cm. Several Asian carriers, particularly on domestic routes in Japan and within Southeast Asia, enforce a strict combined weight limit — often 7kg — which matters more than dimensions when your bag is full of glass.
The practical takeaway: if you fly budget European routes with any regularity, a bag under 45 x 30 x 20cm that weighs under 1.6kg empty gives you the widest margin. Camera gear is dense, and a 900g bag versus a 1.8kg bag is nearly two extra batteries and a lens cap's worth of allowance.

Protection: What Actually Damages Camera Gear
Photographers tend to over-index on drop protection and under-index on the two failure modes that cause most real-world damage: moisture ingress and abrasion from internal movement.
Impact and Padding
Dividers matter more than shell rigidity. Closed-cell foam dividers of 10-15mm thickness, wrapped in a low-friction fabric and secured with hook-and-loop that has not gone fuzzy, will protect gear from the bumps that happen in transit. Look for a reinforced base panel — the bag will spend its life being set down on concrete, gravel, and train platforms.
A useful test in a shop: load the bag, close it, and shake it gently. If you hear anything move, the divider layout is wrong for your kit. Silence means everything is held in compression, which is what you want.
Weather Resistance
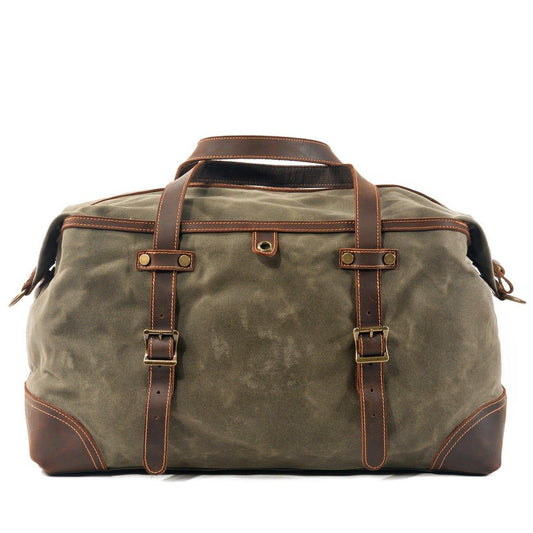
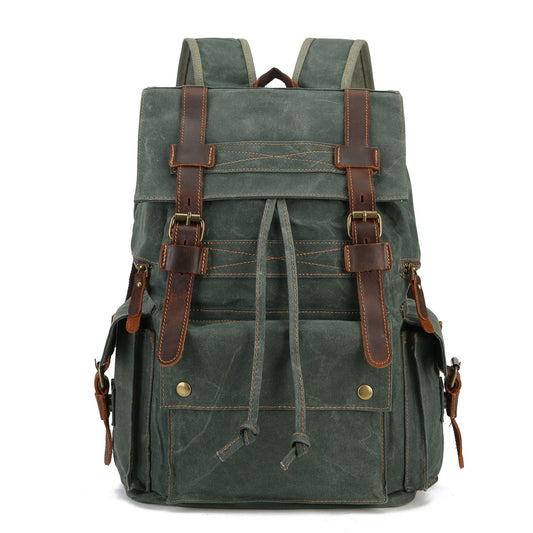
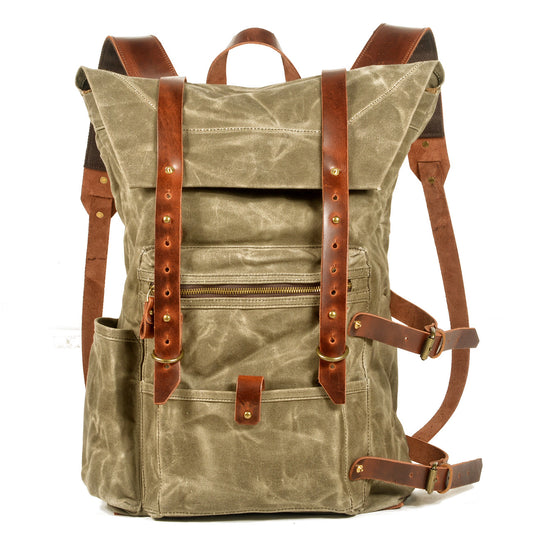
There is a meaningful difference between water-resistant and waterproof, and most bags marketed as the former are honest about it. Waxed canvas sheds a surprising amount of rain — the wax fills the weave and forces water to bead rather than wick — and can be re-proofed at home in twenty minutes with a bar of wax and a hairdryer. Coated nylon repels water faster but relies on a factory-applied DWR finish that degrades after roughly two to three years of regular use.
Whatever the shell, the seams and zips are where water enters. Storm flaps over the main zip, a rolled or covered top opening, and a base panel that does not wick moisture upward from wet ground are worth more than a high hydrostatic head rating on the fabric itself. If you shoot in genuinely wet climates — the Scottish Highlands, the Pacific Northwest, monsoon season in Kerala — carry a separate rain cover regardless of what the bag claims. Our range of waxed canvas bags is built around this philosophy: a densely woven, wax-impregnated shell that handles sustained drizzle and can be refreshed rather than replaced.
Theft Resistance
An overlooked category of protection. In Barcelona, Rome, Naples, Buenos Aires, and increasingly in parts of Paris, an obviously branded camera backpack is a signal. Three practical mitigations:
- Choose a bag with no photographic branding and a civilian silhouette
- Prefer rear-panel or back-panel access, which cannot be opened while the bag is worn
- Use lockable zip pulls on the main compartment when the bag is stowed on a train or bus
A bag that reads as a plain daypack rather than a gear case is a genuine security feature, and it costs nothing.
Access: The Variable Most People Ignore
Access speed is the difference between getting the shot and watching it happen. There are four common configurations, and each suits a different shooting style.
Top Access
A flap or zip on the top of the bag gives you the body with attached lens in about two seconds without setting the bag down. Excellent for hiking and street work where you shoot one focal length and want the camera out fast. Poor for lens changes, since only the top item is reachable.
Side Access
A zip on one flank, often with a magnetic or buckle closure, lets you swing the bag around on one strap and reach in without removing it entirely. This is the most common design on modern travel packs and represents a reasonable compromise. Check that the side opening is on the side matching your dominant hand.
Rear Panel Access
The entire back panel unzips, exposing the full divider layout. Slowest to open — you must take the bag off and lay it down — but it gives you complete visibility of your kit and, critically, the opening faces your back when worn, making pickpocketing effectively impossible. Best for photographers who work methodically from a base.
Front Clamshell
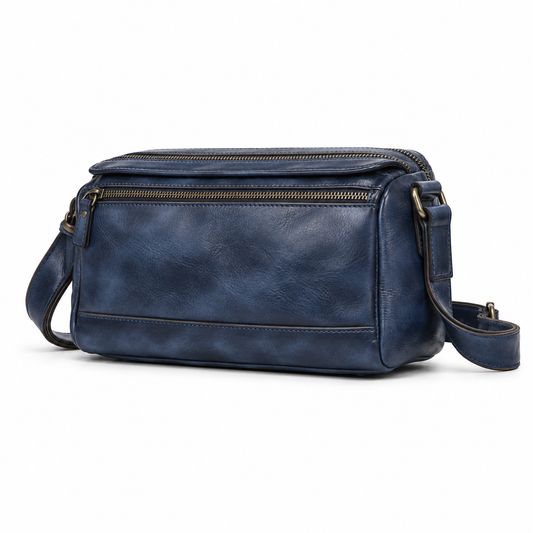
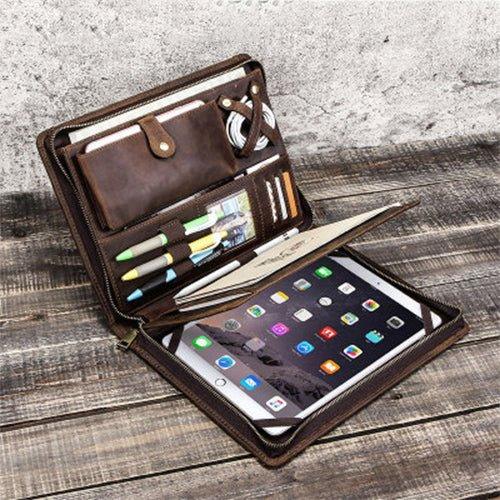
Common on messenger and shoulder styles. The bag opens like a book, fully exposing contents. Fast and comprehensive, but the open flap can catch rain and the contents are visible to everyone around you.
Bag Style Comparison for Travel Photography
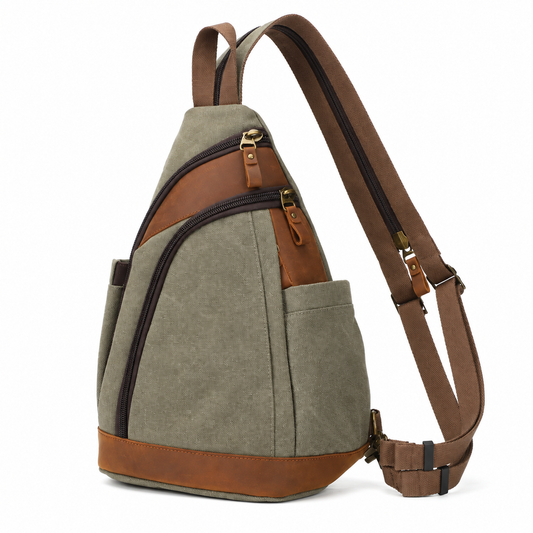
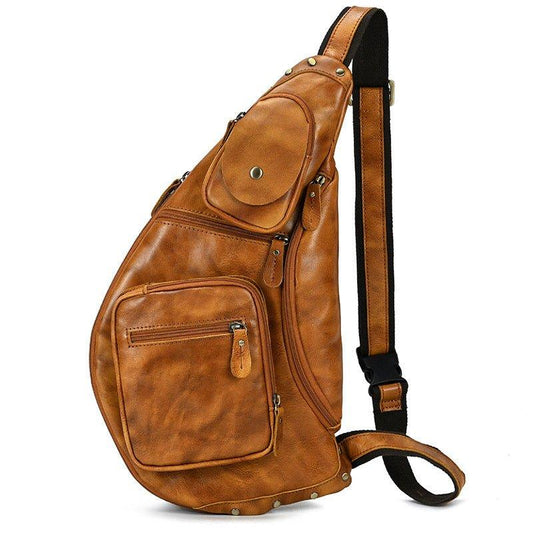
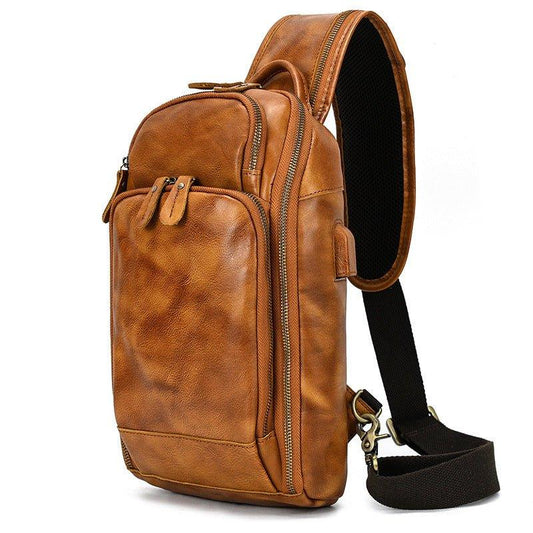
- Sling / crossbody — Capacity 6-12L. Fastest access of any style. Rotates to the front without removal. Best for one body and one or two lenses on city days. Weakness: load rests on one shoulder, so comfort drops sharply above about 4kg.
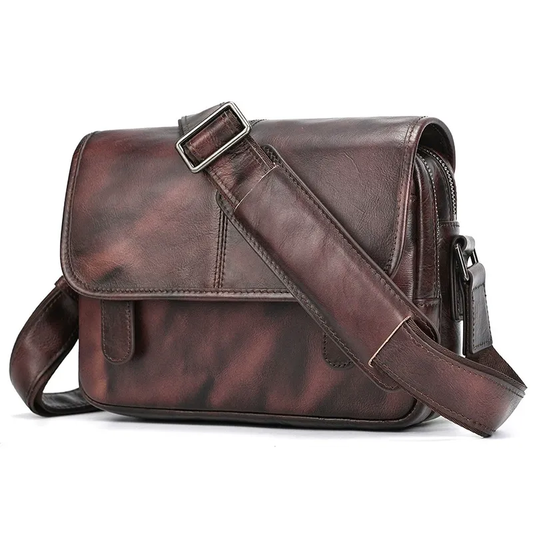
- Messenger — Capacity 10-18L. Good access, laptop-friendly, blends in as a work bag. Weakness: single-strap load and a tendency to swing forward when you bend down.
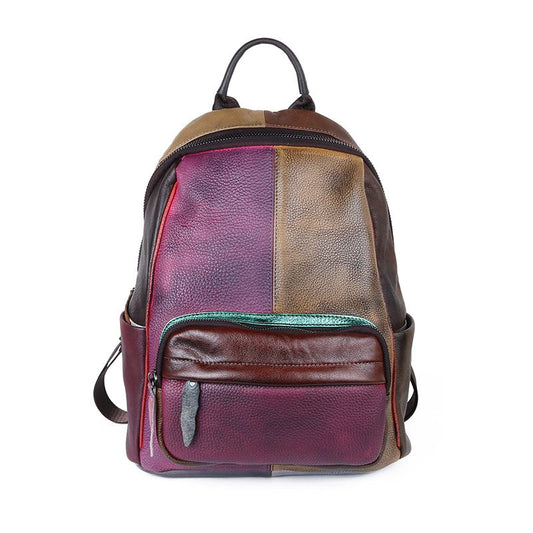
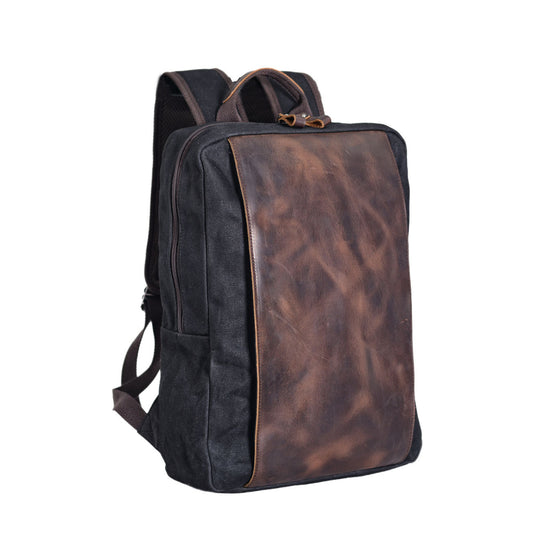
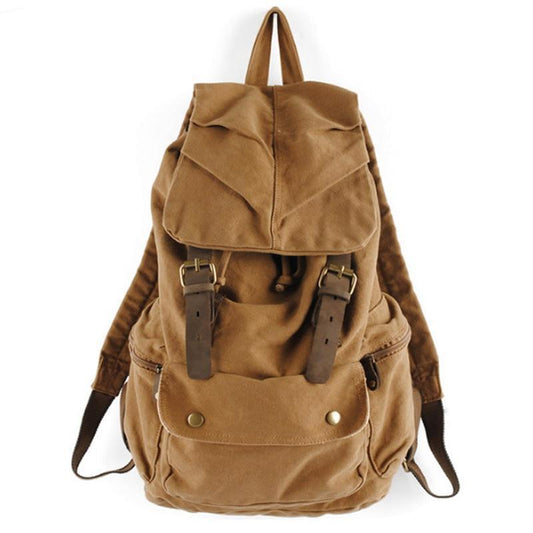
- Backpack — Capacity 15-32L. Best weight distribution by a wide margin, carries tripods well, and handles full-day walking. Weakness: you must remove it to access gear unless it has side entry.
- Hard case with strap — Maximum protection, terrible for walking. Reserved for transit between locations rather than shooting.
- Insert in a regular bag — A padded cube dropped into any daypack. Maximum discretion and flexibility, minimum specialised features. Increasingly popular with photographers who travel light.
For photographers walking more than about five kilometres a day, the backpack wins on ergonomics regardless of how much you prefer the access speed of a sling. Shoulder loading is cumulative, and a 5kg sling that feels fine at 9am is a genuine problem by 4pm. If your travel involves long approaches on foot — coastal paths in Cornwall, the trails above Chamonix, temple circuits in Kyoto — start your search among hiking backpacks with proper hip belts and load lifters, then work out how to protect the gear inside.
Comfort and Fit Details Worth Checking
Camera gear is dense, which means a camera bag concentrates weight in a small volume. That changes the ergonomics compared to a hiking pack of the same litre rating.
- Torso length — Shoulder straps should anchor between your shoulder blades, not above them. Many camera packs are cut short and ride high on taller users.
- Hip belt — Above 6kg, a load-bearing hip belt transfers roughly 60-70% of weight off your shoulders. Below that, a simple stabiliser strap is enough.
- Sternum strap — Prevents shoulder straps from splaying outward under a dense load. Non-negotiable on anything above 15L.
- Back panel ventilation — Channelled foam or a suspended mesh panel makes a real difference in Bangkok in April. Flat foam does not.
- Strap width — Narrow straps concentrate pressure. Look for 6cm or wider on the shoulder pad with dense, slow-recovery foam.
Regional Considerations for Travelling Photographers
Europe
Cobblestones, frequent rain, dense train travel, and strict budget-airline sizing. A compact backpack under 22L with genuine weather resistance and an unremarkable appearance is the strongest default. Rolling luggage is a liability on medieval streets; carrying is easier than dragging.
Asia
Heat and humidity dominate the equation. Ventilated back panels, quick-drying fabrics, and a way to isolate wet gear matter more than heavy padding. Weight limits on regional carriers are enforced strictly. In Japan and South Korea, coin lockers at stations are excellent for stashing a larger bag while you shoot with a sling — a workflow worth planning for.
The Americas
Long distances and more car-based travel, particularly across the western United States, Patagonia, and the Canadian Rockies. This shifts the calculation toward larger capacity and durability against dust and UV. A bag that lives in a vehicle needs a wipeable base and fabric that will not fade after three weeks in high-altitude sun.
Africa and the Middle East
Fine dust is the primary enemy. Zips with a covering flap, tightly woven fabric, and a genuinely sealed main compartment are worth prioritising over any other feature. Bring a blower and use it daily.

Frequently Asked Questions
What size camera bag is best for travel photography?
For most travellers, a 15-22L bag hits the balance point: it holds a mirrorless body, two to three lenses, a 13-inch laptop, and a light jacket while staying within carry-on limits on virtually every airline. Go smaller only if you shoot with a single prime; go larger only if you carry two bodies or lighting gear.
Should I choose a camera backpack or a sling for travel?
Choose a backpack if you walk long distances, carry more than about 4kg, or need to bring a laptop. Choose a sling if you shoot in dense urban environments with a minimal kit and value getting the camera to your eye in under three seconds. Many photographers travel with both: the backpack for transit, the sling for shooting days.
Is a waxed canvas camera bag actually waterproof?
Waxed canvas is highly water-resistant rather than waterproof. The wax fills the weave and causes water to bead and run off, which handles rain and spray well. In sustained heavy rain, water can eventually find its way through seams and zips. Re-waxing every twelve to eighteen months restores performance, and a packable rain cover covers the extreme cases.
Can I put a camera bag under the seat in front of me?
Bags up to roughly 40 x 30 x 20cm fit under most economy seats. Anything larger goes in the overhead bin. Because gear is heavy, keeping your camera bag as a personal item under the seat is generally safer than the bin, where it can be moved or crushed by later boarders.
How do I protect camera gear from humidity on long trips?
Carry rechargeable silica gel packs in the main compartment and swap them every few days. Avoid sealing a damp bag closed overnight — open it in an air-conditioned room. If you are working in tropical conditions for more than a week, a small dry box or a sealed bag with desiccant for overnight storage prevents fungus growth on lens elements.
Do camera bags need to look like camera bags?
No, and there is a strong argument they should not. A discreet bag reduces theft risk and draws less attention when photographing people. Many experienced travel photographers use a well-made general-purpose bag with a padded insert rather than a branded photographic pack.
A Simple Decision Framework
Work through these four questions in order:
- How far do you walk on a typical shooting day? Over 5km means backpack. Under 2km opens up slings and messengers.
- Do you carry a laptop? Yes means minimum 18L with a dedicated padded sleeve.
- How often do you change lenses in the field? Frequently means side or clamshell access. Rarely means top access is fine and faster.
- What is your worst-case weather? Sustained rain means waxed canvas or coated fabric plus a rain cover. Dry climates mean you can prioritise ventilation instead.
Answer those honestly and the field narrows to two or three candidates. At that point, material and aesthetics can decide, because any of the remaining options will function.
Final Thoughts
The best camera bag for travel photography is the one that matches your actual travel patterns rather than your aspirational ones. Size it to your working kit with a third left spare, prioritise weather resistance and internal compression over shell rigidity, and choose an access pattern that matches how often you swap lenses. A bag that ticks those three boxes will stay in service for a decade and stop being something you think about — which is exactly the point.
If you are ready to look at specific options, our camera bags and cases collection covers sling, messenger, and backpack formats in waxed canvas and full-grain leather, all built with removable padded dividers so the bag adapts as your kit evolves.