
Camera Bag Inserts & Organization: Build a Travel-Ready Camera Carry System in 2026

Camera Bag Inserts & Organization: Build a Travel-Ready Camera Carry System in 2026
Camera bags for travel photographers have to perform a quiet magic trick: keep fragile, expensive gear safe while staying light enough to carry from a 5 a.m. sunrise shoot on the Portuguese coast to a humid night market in Bangkok. Most buyers obsess over the outer shell, but the real difference between a stressful trip and a smooth one is what happens inside the bag. A well-planned camera bag organization system, built around the right insert, adjustable dividers, and a repeatable packing routine, lets you adapt one bag to any destination and any shoot. The shell keeps the weather out; the interior is what actually protects your investment and saves your time.
Why Camera Bags for Travel Photographers Need Smart Organization
The shell of a camera bag is only weather protection and a carrying frame. The organization inside is what protects your lenses from knocking together, keeps your memory cards from vanishing, and lets you swap a lens in ten seconds instead of fumbling for a minute while the light fades. For travel photographers, organization also means flexibility: a modular system lets you pull the padding out and use the same bag as a daypack on a rest day, or drop a fresh insert in when the assignment changes. Think of the shell as the house and the insert as the furniture. You can live in the same house with completely different rooms.
- Protection: padded dividers stop glass-on-glass contact during bumpy tuk-tuk rides or cobblestone walks.
- Speed: a fixed home for every item means you stop thinking and start shooting.
- Flexibility: inserts turn any sturdy tote, sling, or backpack into a camera bag.
- Security: a calm, organized bag is easier to keep on your body and zipped in crowded transit hubs.
- Resale value: gear that never bangs around lasts longer and sells higher later.
Canvas vs Leather: How Camera Bags for Travel Photographers Should Choose
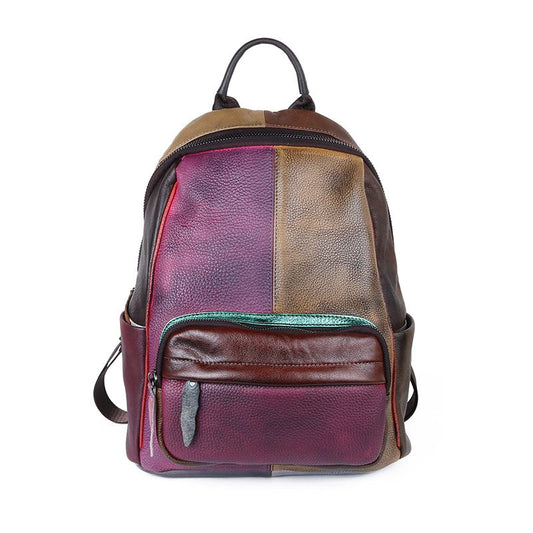
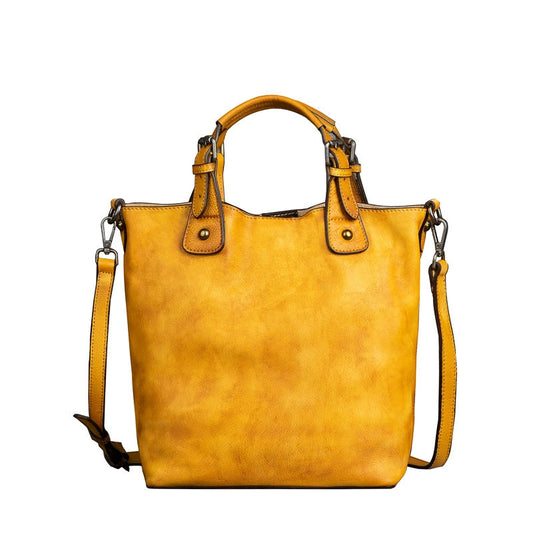
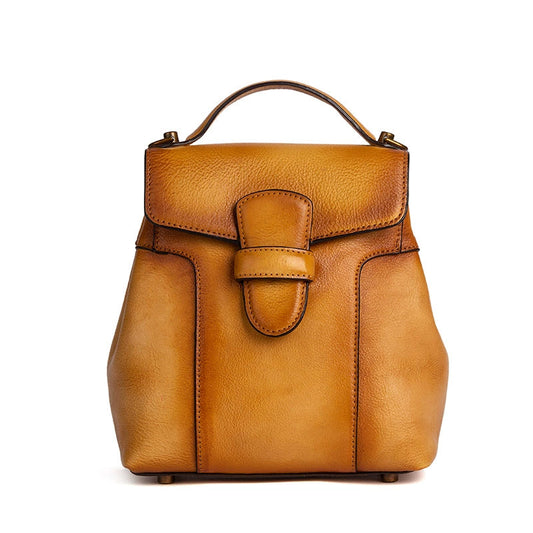
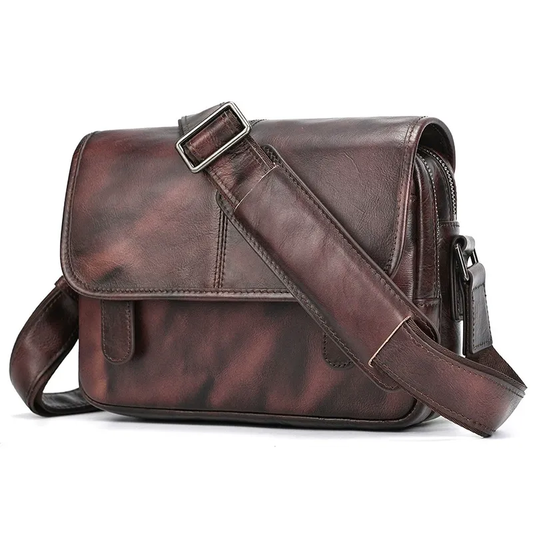
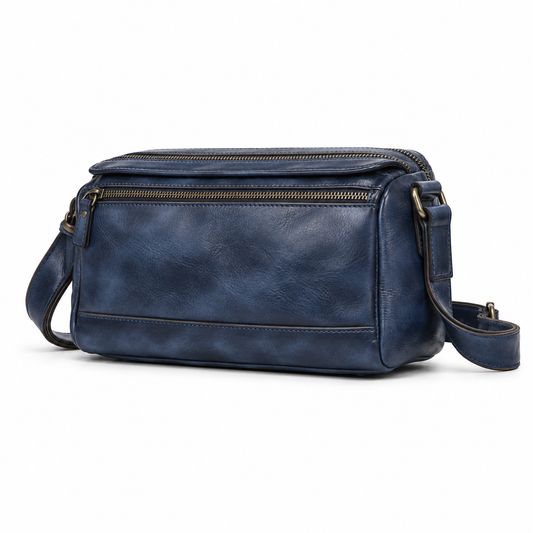
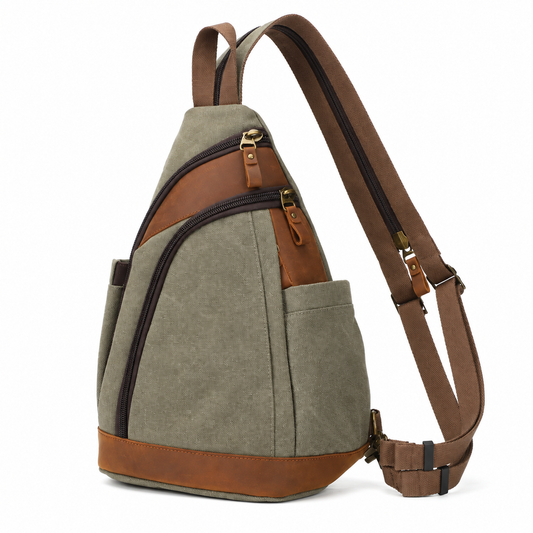
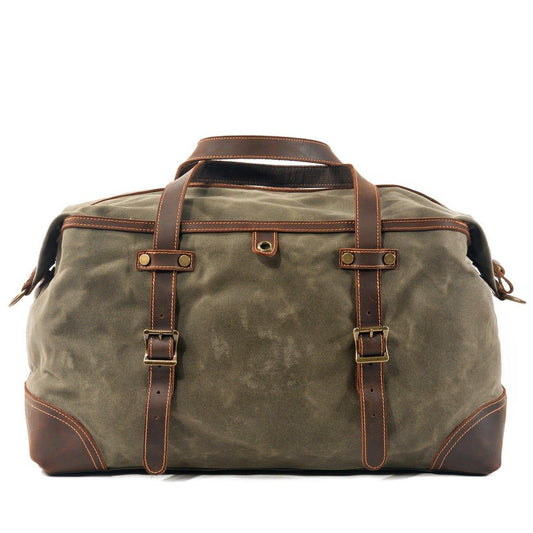
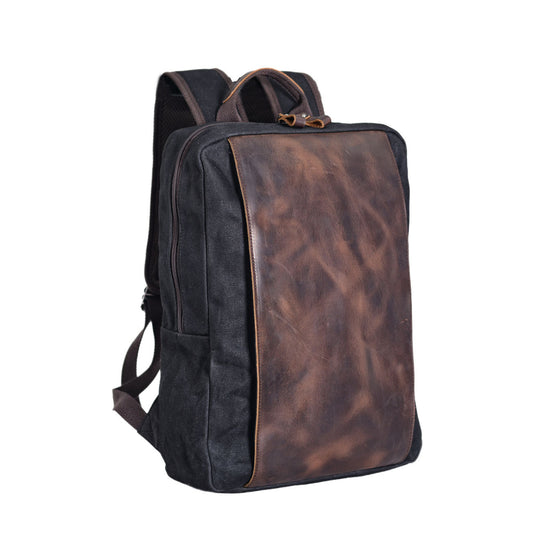
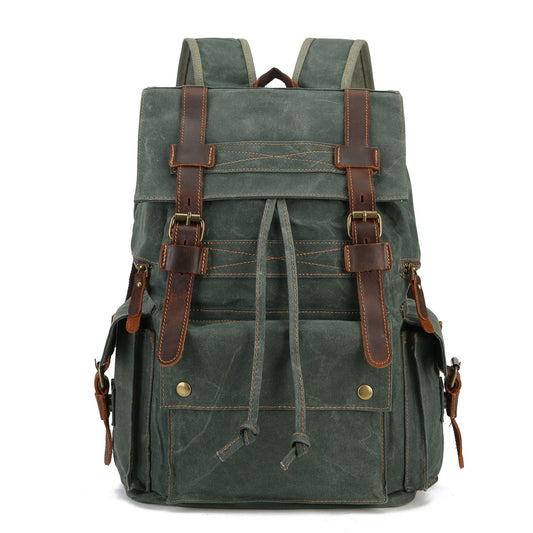
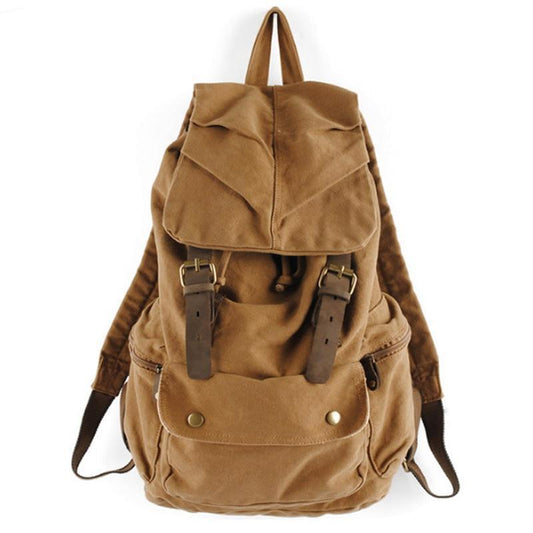
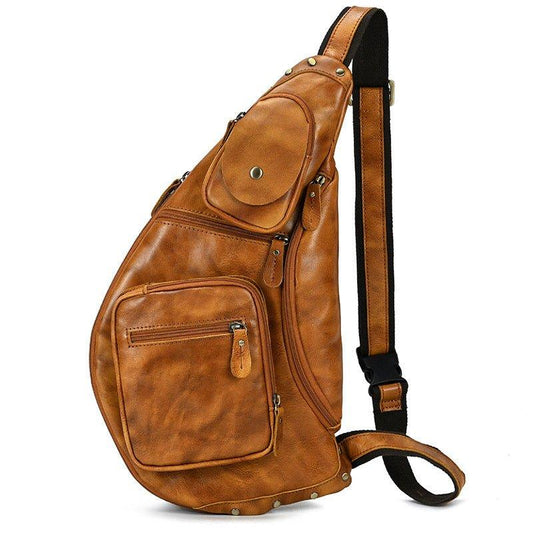
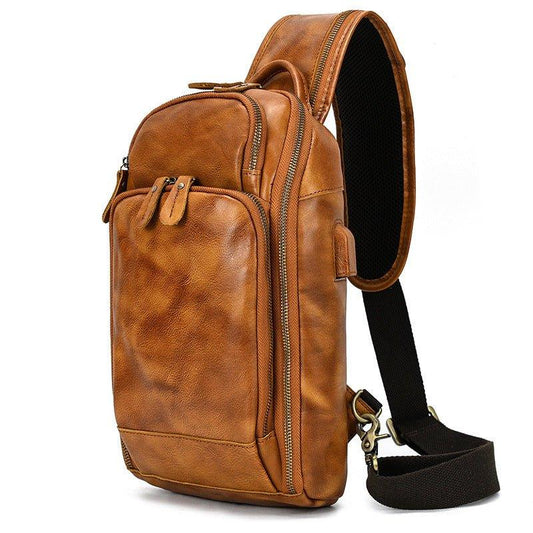
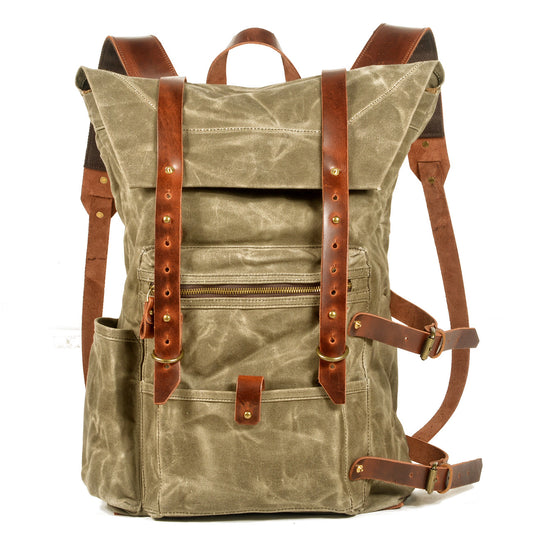
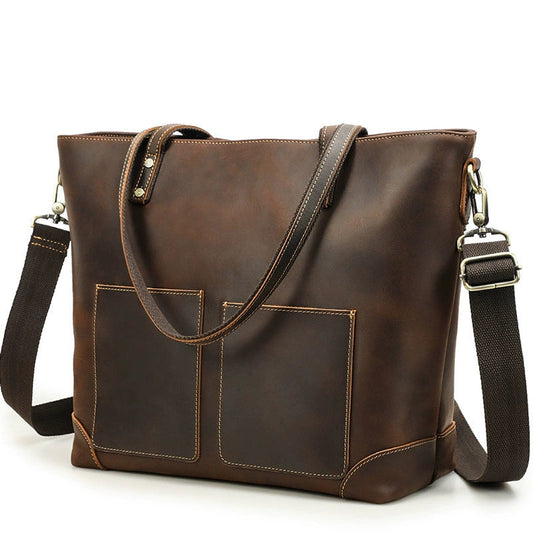
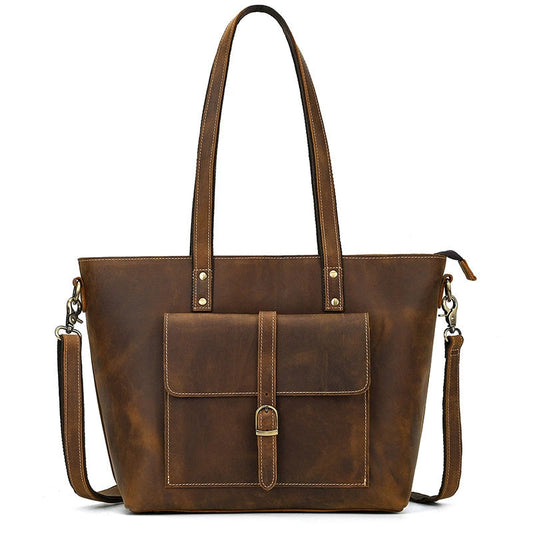
When choosing camera bags for travel photographers, the canvas-versus-leather debate is less about protection and more about how you pack and where you shoot. Both materials need a padded insert, because neither leather nor canvas alone cushions a dropped lens. The difference is behavior in the field, and that behavior quietly dictates how you arrange the interior.
| Factor | Waxed Canvas | Vintage Leather |
|---|---|---|
| Water behavior | Repels rain after waxing; dries fast | Resists splash; needs conditioner in humidity |
| Weight | Lighter per liter | Heavier, but distributes comfortably |
| Packing style | Forgiving; soft walls flex around gear | Structured; holds shape when half-empty |
| Best region | Rainy Europe, tropical Asia | Dry deserts, cool Americas mountain towns |
Canvas is the easy default for all-weather travel, while leather rewards patient owners with a patina that ages beautifully. Either way, the insert does the real protective work, so spend your budget there first and treat the shell as the climate layer.
Anatomy of a Good Camera Insert
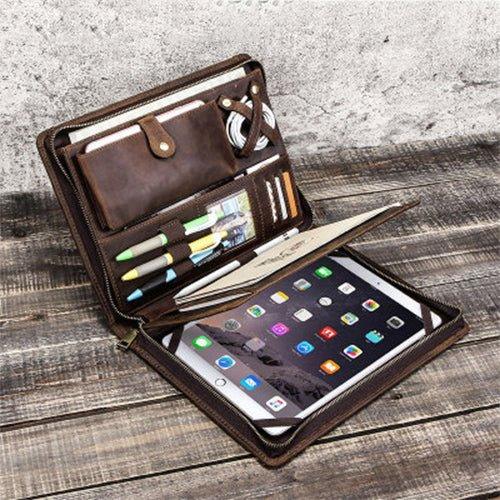
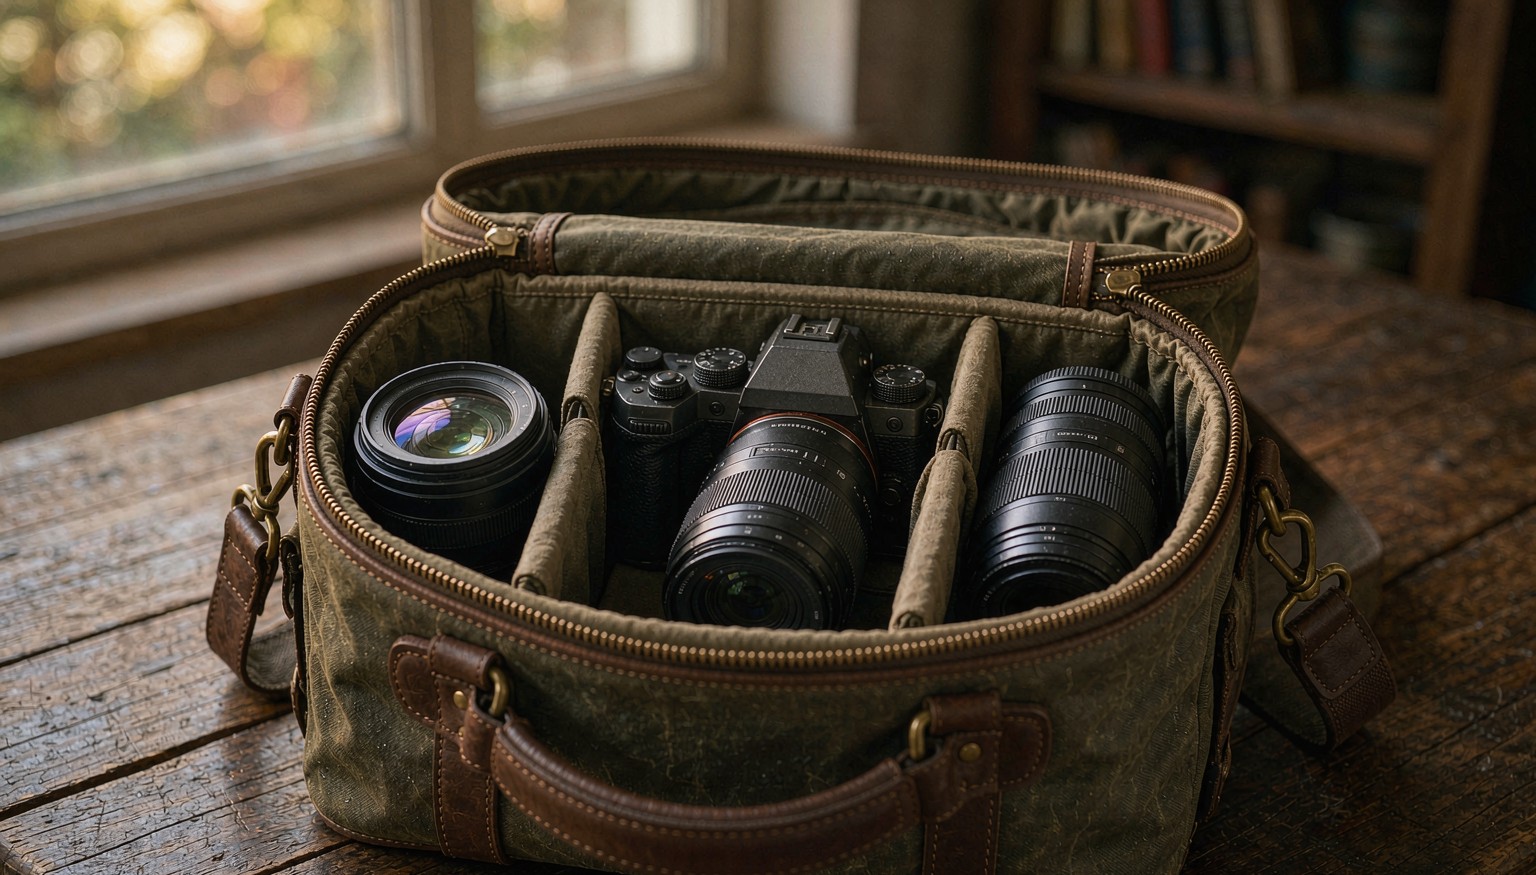
A camera insert is a padded, often cube-shaped sleeve with Velcro dividers. Buy one sized to your largest lens, not your smallest body, because the body is easy to fit and the long glass is what breaks the plan. Look for high-density foam walls at least 8 mm thick on every side, a top flap that closes without crushing the viewfinder, and grab handles so you can lift the whole kit out at airport security in one motion. A bright interior lining helps you spot a dropped cap, and a bottom stiffener keeps the insert from sagging when you set it down on a wet rock.
- Measure your longest lens with the hood attached before you shop.
- Pick dividers you can reconfigure, not fixed slots.
- Choose a bright interior lining so small items do not disappear.
- Confirm the insert fits your chosen shell with the lid able to close.
- Check that the top handle is stitched, not glued, for airport lifts.
The Modular Packing System: Build Your Own Travel Camera Bag
The smartest camera bags for travel photographers are modular. Instead of one rigid camera backpack, build a system: a weatherproof shell, a padded insert, and small accessory pouches. This lets you scale from a city-walk kit to a full landscape kit by swapping inserts rather than buying a second bag, which is a big win when airline personal-item limits keep shrinking. Start with a shell you would happily carry empty, then let the insert define the day.
- Start with the shell: a waxed canvas or leather bag sized for a personal item.
- Drop in the padded insert configured for today's lenses.
- Add a slim cable pouch, an SD-card case, and a microfiber wrap.
- Keep a flat rain cover in the lid for sudden downpours.
- Label the insert so a hotel safe or a fellow shooter can return it.
How to Organize by Photography Type
Your layout should match how you shoot. A street photographer needs one fast-access body; a landscape shooter needs filter pouches and a wide zoom; a wildlife shooter needs a long telephoto that dictates the whole bag. Match the insert to the genre, because a bag tuned for street is miserable for safari and vice versa. Build the layout once, photograph it with your phone, and rebuild from the photo on every trip.
| Genre | Core kit | Layout tip |
|---|---|---|
| Street | One body, 35mm | Single top-access slot, minimal bulk |
| Landscape | Wide zoom, tripod collar | Side pod for filters, base-heavy balance |
| Wildlife | 100-400mm telephoto | Vertical padded slot, lid opens wide |
| Travel vlog | Mirrorless + gimbal | Top tray for camera, bottom for batteries |
City-Walk Kit vs Full Landscape Kit
For a city day, pack one body, one prime, a battery, and a card in a slim insert that disappears under a jacket. For a landscape sunrise, you need the wide zoom, a second body or spare battery, a filter pouch, and a microfiber cloth, so use a deeper insert and accept a heavier shoulder. The modular approach means the shell never changes; only the insert and the pouches do. This is why travelers who shoot many styles stop buying purpose-built bags and start building systems.
A Step-by-Step Packing Routine Before You Fly
Build the same routine before every trip so nothing is forgotten. Lay gear on a towel, charge everything the night before, then load heaviest items against your back and delicate glass in the center. Always carry cards and a spare battery in your personal item, never checked luggage, because a lost checked bag should never mean lost images. Do a final zip-check: every closure closed, every cap on, every strap tucked.
- Charge all batteries and format all cards the night before.
- Lay gear on a towel and assign each item a divider slot.
- Load heaviest items against the back panel for balance.
- Place cards and one battery in your personal item, not the bag.
- Zip every closure and tuck every loose strap before you leave.
Regional Realities: Europe, Asia, and the Americas
Where you shoot changes how you organize. In Europe, cobblestone streets and packed metros mean a compact, zipped-shut bag and a rain cover for sudden showers. Across Asia, tropical humidity threatens fungus on lenses, so include silica gel packs and a dry-cloth pouch, and air gear out nightly. In the Americas, altitude and desert dust call for sealed zippers and a blower brush kept in an outer pocket. The same insert travels everywhere; the pouches around it change with the climate.
- Europe: keep the bag front-zipped in transit; blend in, avoid logos.
- Asia: rotate silica gel every few days in monsoon season.
- Americas: use a dust flap and clean gear nightly in dry climates.
Cable, Battery, and SD Card Management
Tangled cables waste shooting time and fray faster. Use a slim puncture-resistant pouch with elastic loops, label each battery with a permanent marker and a charge dot, and store cards in a rigid case sorted by shoot. A simple rule: full cards go in the red slot, empty in the green. Keep a short charging cable separate from data cables so you are never tempted to yank the wrong one at an airport lounge.
Security While Shooting and in Transit
Camera bags for travel photographers are theft magnets because the contents are valuable and obvious. Keep the bag on your front in crowds, use a carabiner to clip the main zipper, and never set the bag down with the lid open. At hotel desks, store the insert in a locked case rather than leaving gear visible, and consider a decoy pouch with an old phone so a snatch costs less than a lens. Confidence and a zipped bag deter most opportunists.
Troubleshooting Foggy Lenses and Condensation
Moving from an air-conditioned Asian mall into steamy street heat fogs every surface. Keep a silica gel pack inside the insert and a microfiber cloth in the quick-access pocket, and let the camera acclimate in the closed bag before opening it. Never wipe a fogged front element with a dry cloth; wait for the condensation to clear so you do not scratch the coating. A sealed insert buys you the few minutes the glass needs to equalize.
Budget vs Premium Inserts
A basic foam insert protects casual gear for little money, while a premium insert adds rigid walls, adjustable aluminum frames, and weatherproof zippers that survive years of travel. Spend up if your lenses cost more than the insert by an order of magnitude, because the math favors protection. Either tier beats a soft pouch, and both fit the same shell, so you can upgrade later without abandoning your system.
Common Mistakes Photographers Make
- Buying a bag too small for the longest lens with hood attached.
- Stuffing soft items into padded slots and crushing the dividers.
- Forgetting a backup card and battery in the personal item.
- Leaving the bag half-open while distracted by a shot.
- Skipping the rain cover because the sky looks clear.
Care and Maintenance on the Road
Wipe the shell with a damp cloth weekly, re-wax canvas when water stops beading, and condition leather monthly in dry air. Let damp gear air-dry before closing the bag, and never seal a wet lens inside a sealed insert where mold can start in a day. A five-minute nightly reset, wipe, check cards, charge one battery, keeps a month-long trip incident-free.
When to Upgrade Your Carry System
Upgrade when your longest lens no longer fits, when the foam has compressed to nothing, or when a second body has made one insert overcrowded. The signal is not a calendar date but a recurring problem: you cannot close the lid, or you hesitate to bring the right lens because it will not fit. At that point, buy a deeper insert or a second shell, not a whole new camera bag system.
A Day in the Life: Shooting Lisbon with One Insert
Picture a realistic travel day. You land in Lisbon, drop the big luggage at the hotel, and head out with one waxed canvas shell and a street insert holding a single body and a 35mm. Morning light on the Alfama tiles needs nothing else. At noon you swap to a landscape insert with a wide zoom and a filter pouch for the riverside, then back to the street insert for the blue-hour tram shots. One shell, two inserts, zero wasted weight, and you never carried a bag bigger than a personal item. That is the entire promise of a modular system, and it works because the insert, not the bag, defines the day.
- Morning: street insert, one body, one prime, spare card.
- Midday: landscape insert, wide zoom, filter pouch, cloth.
- Evening: back to street insert, battery swap, card rotation.
- Hotel: insert into the room safe, empty shell hangs by the door.
Building a Two-Insert Travel Kit on a Budget
You do not need a professional budget to build this system. Start with one good shell you like enough to carry for years, then buy two inserts: a slim one for city days and a deeper one for serious shooting. Add a $10 cable pouch and a $6 card case, and you have matched a $400 purpose-built bag for a fraction of the cost. The beauty is that every piece is reusable: the shell survives a decade, the inserts adapt to new cameras, and the pouches graduate to other bags. Spend once, adapt forever, which is the opposite of the buy-a-new-bag-every-trip cycle most travelers fall into.
Frequently Asked Questions
Do I need a dedicated camera bag or just an insert?
A padded insert inside a weatherproof shell is enough for most travelers and far more flexible than a rigid camera backpack. Buy a dedicated bag only if you shoot professionally every day.
How do I stop lenses from touching inside the bag?
Use adjustable dividers to build a snug compartment for each item, then fill gaps with a microfiber cloth so nothing shifts during transit.
Can I carry camera gear as a personal item on flights?
Most airlines allow a camera bag as your personal item if it fits under the seat. Keep it within airline dimensions and avoid wheels or hard frames that read as a second carry-on.
Is waxed canvas or leather better for travel photography?
Canvas is lighter and more rain-friendly; leather is structured and ages better. Both require a padded insert, so choose based on climate and style preference.
Conclusion
Great camera bags for travel photographers are not defined by the logo on the outside but by the system inside. Choose a weatherproof shell, a well-fitted padded insert, and a repeatable packing routine, and you can shoot confidently from a Lisbon alley to a Bangkok market to a Rocky Mountain sunrise. Explore Woosir's camera bags and cases and pair them with a waxed canvas bag to build a travel-ready carry system that lasts for years.