
Sacs photo pour les photographes de voyage : Planifiez la capacité et protégez votre équipement en 2026

Choisir les bons sacs photo pour les photographes de voyage ne consiste pas à acheter le plus grand sac que vous puissiez trouver, mais plutôt à planifier exactement ce que vous devez transporter. Que vous photographiiez les matins alpins des Amériques, les marchés nocturnes d'Asie ou les côtes méditerranéennes d'Europe, le sac que vous choisissez détermine la quantité de matériel que vous emportez et la rapidité avec laquelle vous pouvez réellement prendre des photos. Ce guide se concentre sur la planification de la capacité et la protection du matériel — les deux décisions qui distinguent un sac que vous tolérez simplement d'un sac en lequel vous avez vraiment confiance. Nous verrons comment adapter la taille du sac au type de prise de vue, les caractéristiques de protection qui comptent vraiment, comment mesurer votre propre équipement avant de dépenser un centime, les réalités des voyages régionaux et un ordre de rangement qui facilite les contrôles de sécurité à l'aéroport. Au final, vous saurez comment constituer un kit prêt pour le voyage qui s'adapte à vos boîtiers d'appareil photo, objectifs et effets personnels sans devenir un fardeau. Un sac photo pour les photographes de voyage bien planifié fait la différence entre capturer le moment et le manquer en fouillant dans les fermetures éclair.
Pourquoi la planification de la capacité l'emporte sur l'achat du plus grand sac
De nombreux acheteurs novices supposent qu'un sac plus grand est automatiquement plus sûr parce qu'il peut contenir davantage. En pratique, les sacs surdimensionnés créent trois problèmes qui endommagent discrètement le matériel et le plaisir. Premièrement, le matériel lâche se déplace pendant le transport et entre en collision, ce qui est exactement la façon dont les objectifs et les filtres peuvent s'abîmer. Deuxièmement, un espace à moitié vide vous encourage à transporter des choses que vous n'utiliserez jamais, ajoutant un poids que vous ressentirez après une journée entière de marche. Troisièmement, les sacs surdimensionnés attirent l'attention aux points de contrôle et dans les trains bondés, faisant de vous une cible plus évidente pour le vol.
La planification de la capacité signifie adapter la taille du sac à votre équipement réaliste, puis utiliser des séparateurs rembourrés pour maintenir chaque article en place. Un ajustement parfait protège bien mieux le matériel qu'un sac géant avec de l'espace vide qui rebondit. Un photographe de rue qui emporte un boîtier et deux objectifs n'a pas besoin d'un sac à dos de 40 litres pour la nature sauvage ; un voyageur en safari avec un objectif de 600 mm ne peut pas se faufiler dans une sacoche de 10 litres. Commencez par lister les boîtiers, objectifs et accessoires exacts que vous utilisez lors d'un voyage typique, puis choisissez le plus petit sac qui peut contenir cette liste avec de la place pour une batterie de rechange et un portefeuille de cartes mémoire. Vous vous déplacerez plus vite, vous fatiguerez moins et vous vous inquiéterez moins.
Adaptez le sac au type de prise de vue
Un photographe de rue à Tokyo a besoin d'un accès rapide, à une seule main et d'un profil discret. Un photographe de paysages dans l'Ouest américain a besoin de place pour un zoom grand-angle, une sangle de trépied et des couches chaudes. Un voyageur en safari a besoin d'un téléobjectif et d'un harnais stable. Un photographe de mariage ou d'événements a besoin de changements d'objectif rapides et d'un profil discret. Voici un guide de taille pratique que vous pouvez adapter avant chaque voyage, avec des notes sur ce qu'il faut réellement emporter.
| Type de prise de vue | Capacité | Style de sac | Ce qu'il faut emporter |
|---|---|---|---|
| Rue / ville | 8–14 L | Sacoche bandoulière ou compacte | Un boîtier, 1–2 objectifs fixes, batterie de rechange, cartes |
| Paysage / voyage | 18–30 L | Sac à dos | Deux boîtiers, zoom grand-angle + standard, trépied, veste, ordinateur portable |
| Faune / safari | 30–45 L | Sac à dos avec harnais | Téléobjectif long, boîtier, support pour gros objectifs, hydratation |
| Événement / studio | 14–22 L | Sac à roulettes ou structuré | Plusieurs objectifs, flash, protection rigide |
Utilisez ce tableau comme point de départ, puis ajustez-le en fonction des objets personnels que vous transportez toujours : eau, veste, documents et batterie externe. L'objectif est un sac plein mais non surchargé, de sorte que chaque article reste en place au lieu de heurter son voisin lors d'un trajet cahoteux en bus.
Les caractéristiques de protection qui comptent réellement
Rembourrage et séparateurs modulables
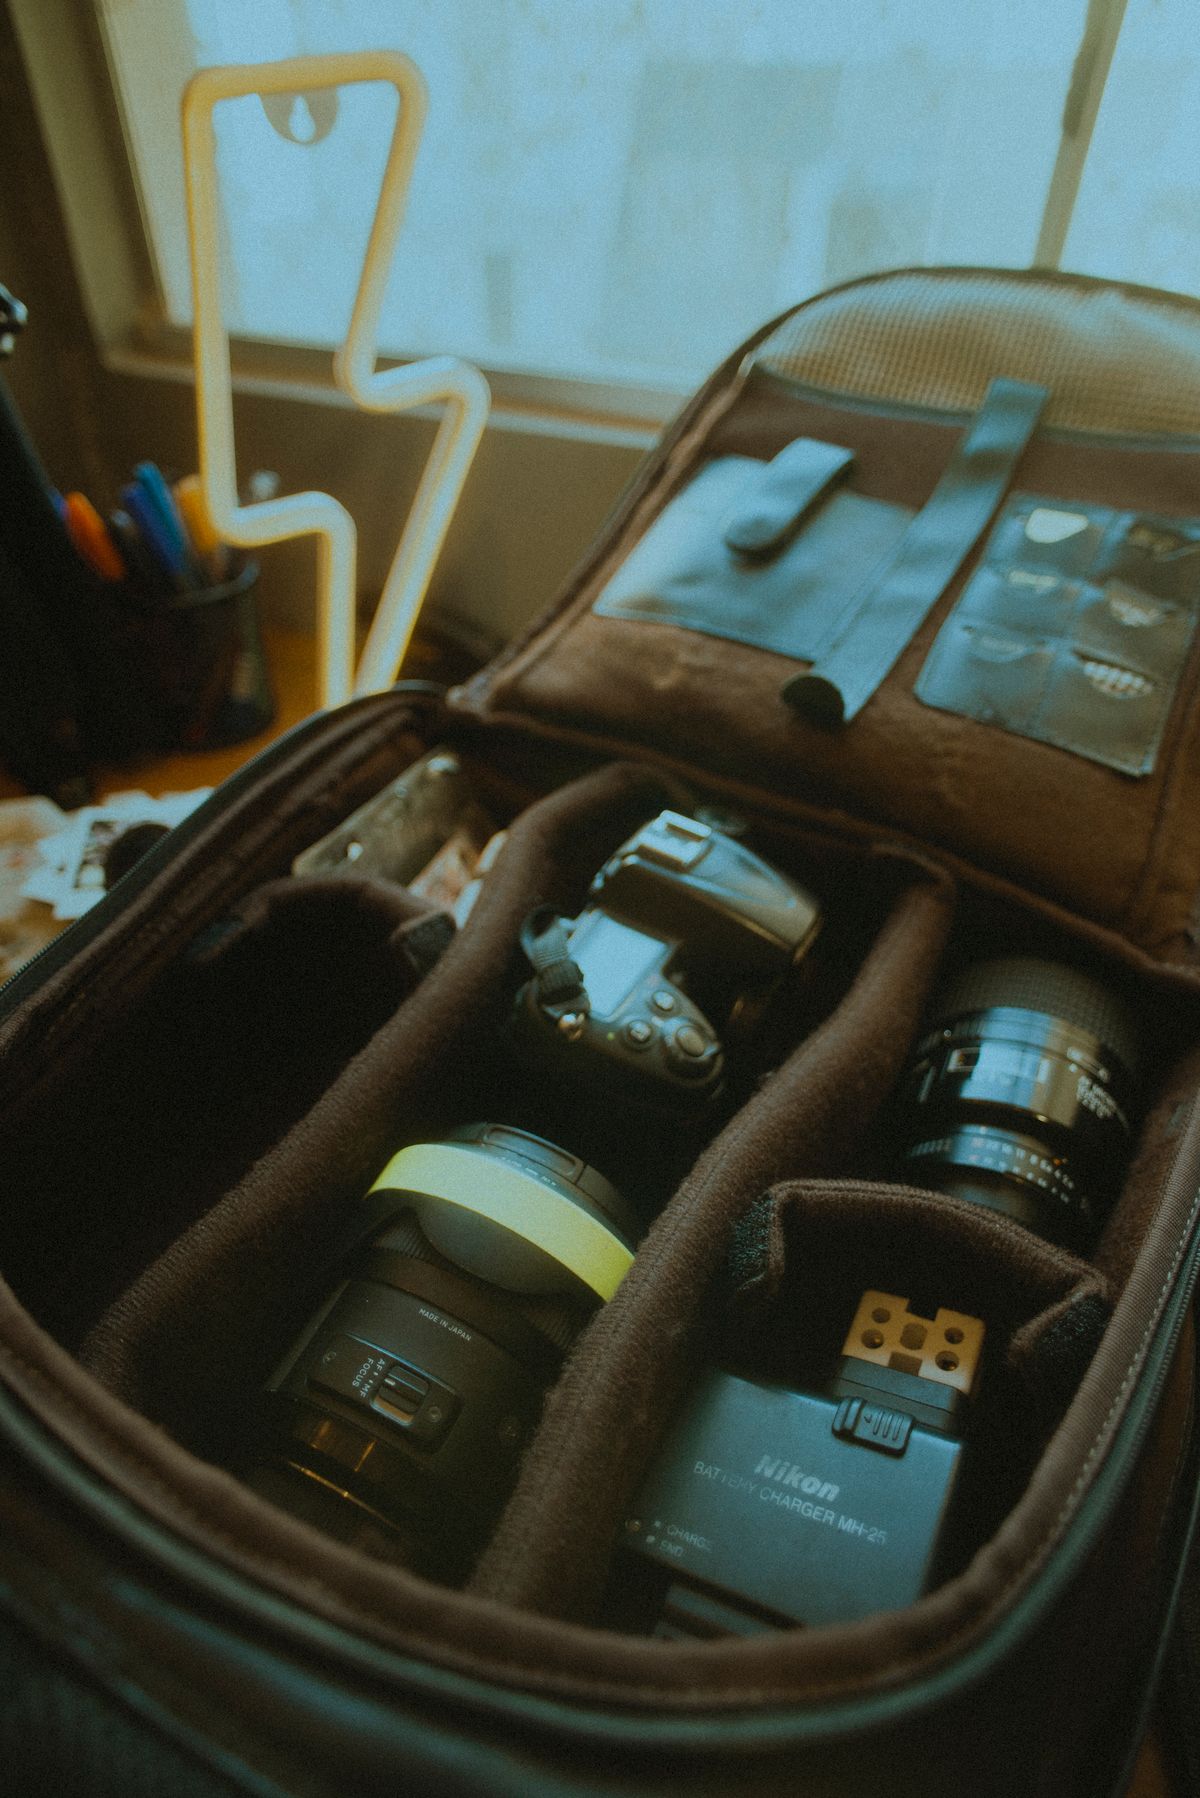
Les parois en mousse à cellules fermées absorbent les chocs bien mieux que les doublures en tissu fin. Recherchez des séparateurs épais et ajustables avec des bords renforcés afin que les compartiments conservent leur forme lorsque le sac n'est que partiellement rempli. Les séparateurs à Velcro vous permettent de réorganiser l'intérieur pour un nouvel ensemble d'objectifs en quelques minutes. Évitez les sacs avec des cloisons fixes et non déplaçables, à moins que votre équipement ne change jamais, car les voyages modifient inévitablement ce que vous transportez d'un voyage à l'autre. Les meilleurs séparateurs sont suffisamment hauts pour qu'un objectif ne puisse pas basculer et toucher les dents de la fermeture éclair.
Résistance aux intempéries et housses de pluie
Le tissu résistant à l'eau est la norme, mais une housse de pluie adéquate qui enveloppe entièrement le sac est ce qui sauve le matériel lors d'une véritable averse. Testez la housse avant le voyage — certaines ne protègent que le dessus et laissent le panneau arrière trempé. Pour les régions humides d'Asie, une housse aide également à empêcher la poussière et l'humidité d'entrer pendant les longues journées de transit en bus et en train. Si votre sac a des fermetures éclair exposées, envisagez une version avec des coutures cirées ou scellées, car l'eau aime s'infiltrer par le moindre interstice.
Harnais et répartition du poids
Un panneau dorsal rembourré et respirant et une ceinture de hanches allègent vos épaules pendant les longues journées. Pour les sacs de plus de 20 litres, une sangle de poitrine empêche la charge de se balancer lorsque vous faites du vélo dans une vieille ville européenne ou que vous marchez jusqu'à un point de vue en Amérique. Sans harnais, un sac photo pour les photographes de voyage lourd devient une blessure à l'épaule potentielle, et personne ne prend de bonnes photos en souffrant. Essayez le sac chargé lors d'une promenade de 20 minutes avant de vous engager à l'acheter.
Fermetures éclair et points de tension
Choisissez des fermetures éclair YKK ou équivalentes avec de larges tirettes faciles à manipuler avec des gants. Les points où les sangles rencontrent le corps sont les premiers à céder, alors recherchez des renforts à points d'arrêt ou à points carrés plutôt qu'une simple ligne de fil. Une poignée supérieure cassée ou une ancre de sangle détachée est le moyen le plus rapide de perdre un sac en plein voyage, de sorte que ces points de tension méritent autant d'attention que le rembourrage intérieur.
Comment mesurer votre équipement avant d'acheter
Vous n'avez pas besoin d'un mètre ruban pour planifier la capacité, mais une simple routine évite des erreurs coûteuses. Étalez sur une table chaque article que vous prévoyez d'emporter, y compris les effets personnels que vous ajoutez toujours par la suite. Regroupez-les par fréquence d'accès : les essentiels vont dans le compartiment principal, les articles à accès rapide vont dans une poche supérieure ou latérale. Estimez le volume en imaginant chaque objectif dans sa housse rembourrée et en les empilant ; la plupart des zooms standard occupent à peu près le volume d'une canette de soda. Ajoutez une marge de 20 % pour la veste que vous oubliez d'emporter, puis comparez le total au tableau ci-dessus. Cet exercice de cinq minutes vaut mieux que de deviner et vous permet d'obtenir un sac adapté du premier coup.
Comment organiser un kit de voyage par région
Europe : forfaits ferroviaires, pavés et marche en ville
Les voyages en Europe impliquent souvent des trains, des escaliers étroits et des heures de marche. Gardez votre appareil photo à portée de main pour un accès rapide sur les itinéraires panoramiques, et rangez un parapluie compact dans une poche latérale. Un sac à dos réduit la fatigue des épaules lors des longues journées de marche entre les gares, et un portage frontal dissuade les pickpockets dans les métros bondés de Paris, Barcelone ou Rome. Rembourrez bien le fond, car les quais européens sont impitoyables pour les sacs qui tombent.
Asie : humidité, mégalopoles et transports bondés
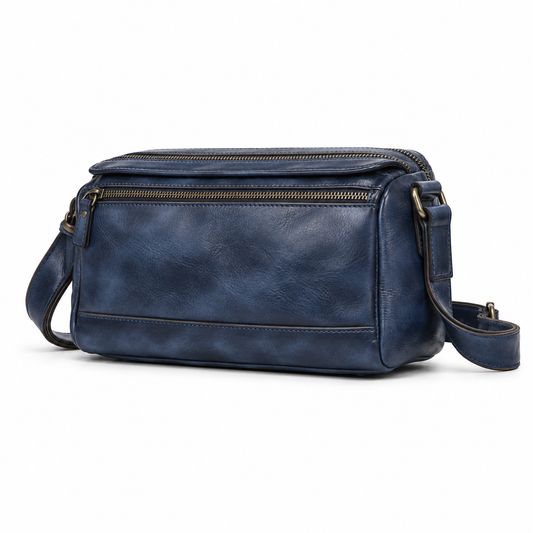
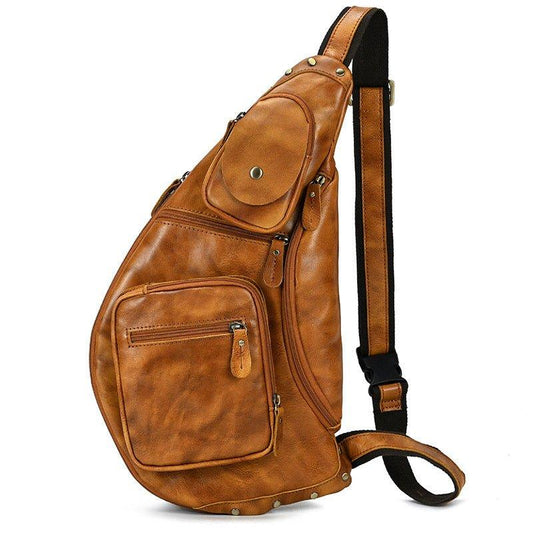
Les mégalopoles asiatiques sont humides et densément peuplées. Utilisez des sachets de gel de silice dans une poche zippée pour lutter contre la buée sur les objectifs, et gardez le sac face à vous sur les marchés de Bangkok à Mumbai. Un profil plus mince vous aide à vous déplacer dans la foule sans accrocher les sangles aux chariots, et une sacoche bandoulière à accès rapide vous permet de photographier des scènes de rue sans jamais poser le sac là où il pourrait disparaître en quelques secondes.
Amériques : road trips et parcs nationaux
Les road trips à travers les Amériques combinent conduite et randonnée. Un sac à dos avec un support de trépied et une poche d'hydratation convient aux départs de sentiers, tandis qu'un compartiment rembourré maintient le matériel en sécurité dans le coffre de la voiture. Emportez une couche légère que vous pouvez glisser dans le sac pour les changements d'altitude dans les Rocheuses ou les Andes, et gardez les batteries au chaud lors des départs matinaux froids afin qu'elles ne se déchargent pas au premier lever de soleil glacial.
Ordre de rangement qui accélère le contrôle de sécurité à l'aéroport
Placez votre boîtier d'appareil photo et le plus grand objectif dans le compartiment principal, le plus près de l'ouverture, afin qu'ils soient faciles à retirer si un agent le demande. Gardez les batteries dans une pochette transparente et les objectifs de rechange enveloppés dans leurs propres housses rembourrées. Un ordre de rangement logique signifie que vous ouvrez une fois, montrez ce qui est nécessaire, et refermez rapidement — réduisant le risque qu'une fermeture éclair reste ouverte par erreur et le risque de laisser une carte mémoire sur le plateau. Rangez un petit chiffon en microfibre à portée de main, car les files d'attente de sécurité sont exactement le moment où vous remarquez une tache sur l'élément frontal.
Erreurs courantes de capacité commises par les voyageurs
La première erreur est d'acheter pour le voyage dont on rêve plutôt que pour le voyage que l'on fait. Un équipement de 45 L pour la faune est une misère lors d'une escapade en ville. La seconde est d'oublier les effets personnels ; un sac dimensionné uniquement pour les appareils photo ne laisse pas de place pour une veste ou de l'eau, vous transportez donc un deuxième sac de toute façon et perdez l'avantage d'une charge consolidée. La troisième est d'ignorer le poids — une fois qu'un sac chargé dépasse environ 12 kilogrammes, un harnais et une ceinture de hanches cessent d'être facultatifs et deviennent essentiels pour un confort toute la journée. La quatrième est de supposer que plus de compartiments signifient une meilleure organisation ; trop de petites poches ne font que cacher votre équipement lorsque vous en avez besoin.
Budget vs Premium — où va l'argent
Les sacs haut de gamme justifient leur coût par un meilleur rembourrage, des fermetures éclair plus fluides, des points de tension renforcés et une ingénierie du harnais. Les sacs économiques coupent souvent les coins à ces mêmes endroits. Vous n'avez pas besoin du sac le plus cher, mais vous devriez dépenser suffisamment pour que les fermetures éclair résistent à un an d'utilisation quotidienne et que les séparateurs conservent réellement leur forme. Pour la plupart des voyageurs, un sac à dos de prix moyen avec une fermeture éclair éprouvée et une véritable housse de pluie surpasse un produit phare bon marché qui semble impressionnant en magasin. Pensez en coût par voyage : un sac utilisé pendant cinquante trajets est bon marché à tout prix, tandis qu'une bonne affaire qui lâche au troisième voyage était le choix le plus cher. Lisez les avis des propriétaires de voyageurs qui ont utilisé le sac pendant au moins dix voyages ; les éloges de première impression dans une salle d'exposition valent beaucoup moins qu'une année de tapis roulants d'aéroport et de pluie. Cette recherche à long terme est la dernière étape de la planification de la capacité, et c'est celle que les débutants sautent le plus souvent.
Un petit mot sur les matériaux
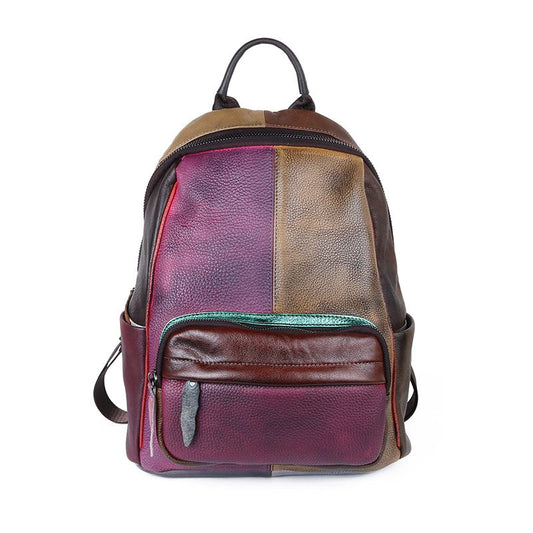
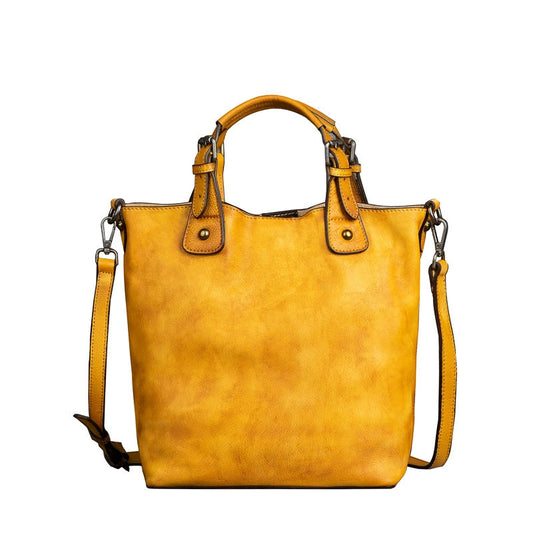
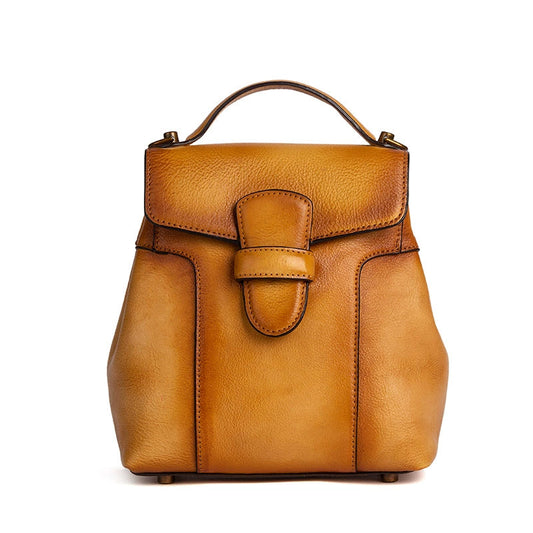
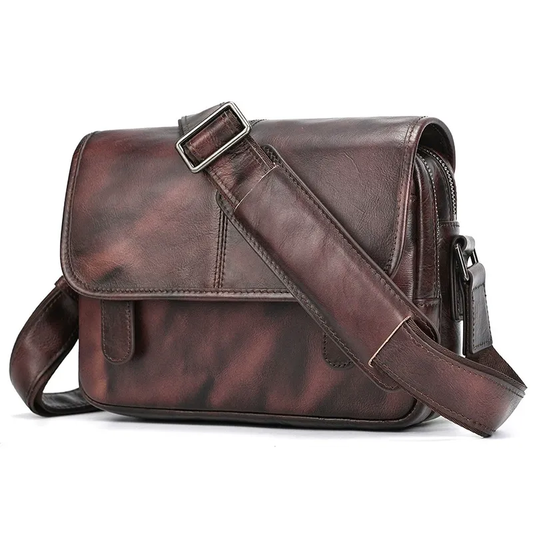
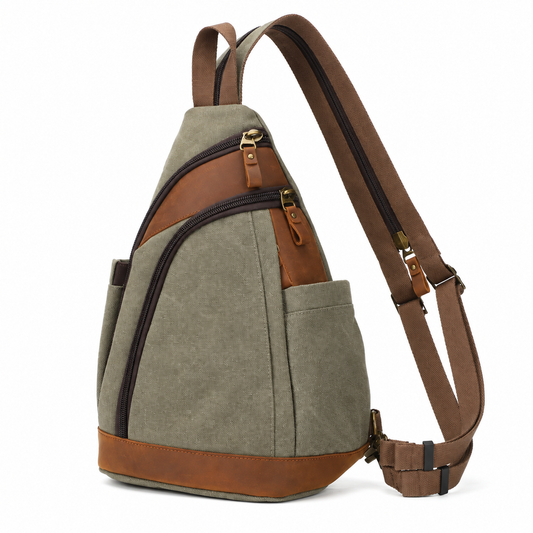
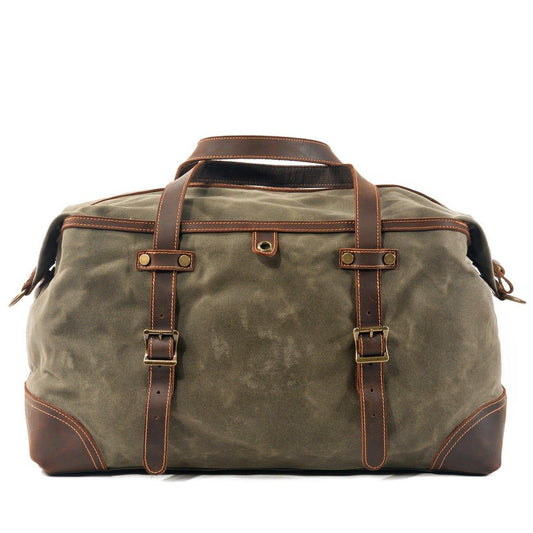
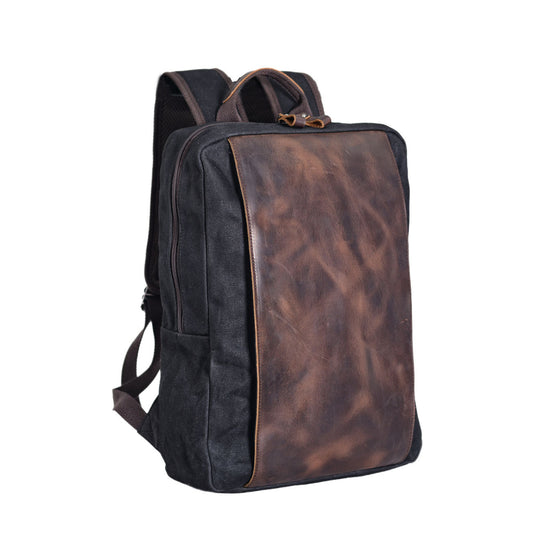
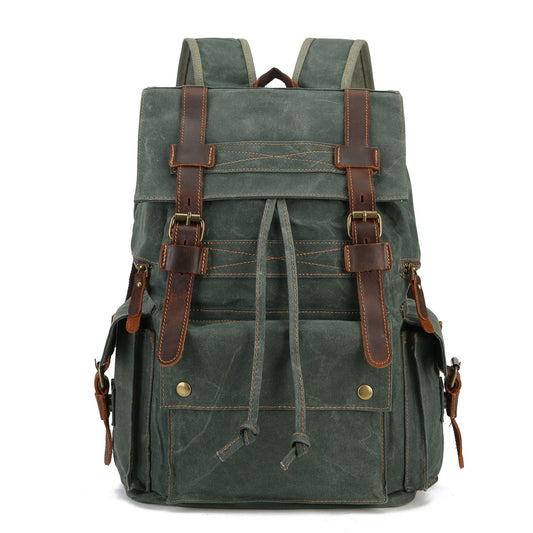
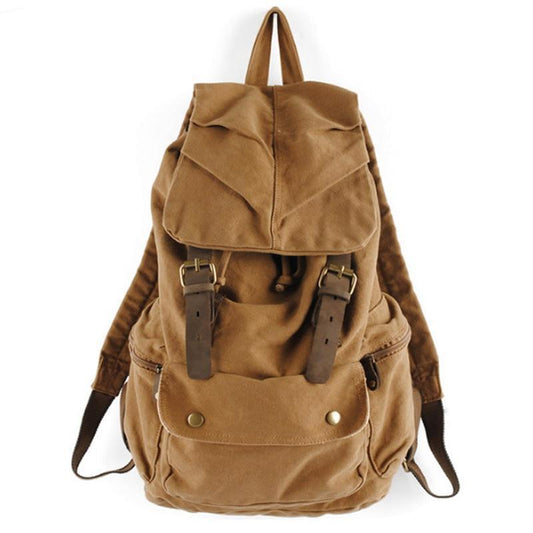
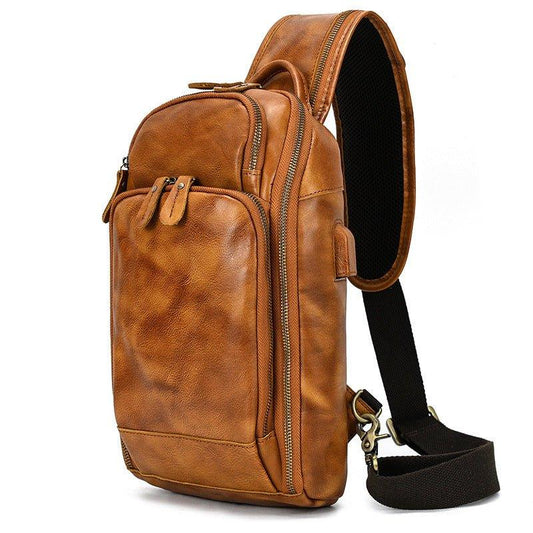
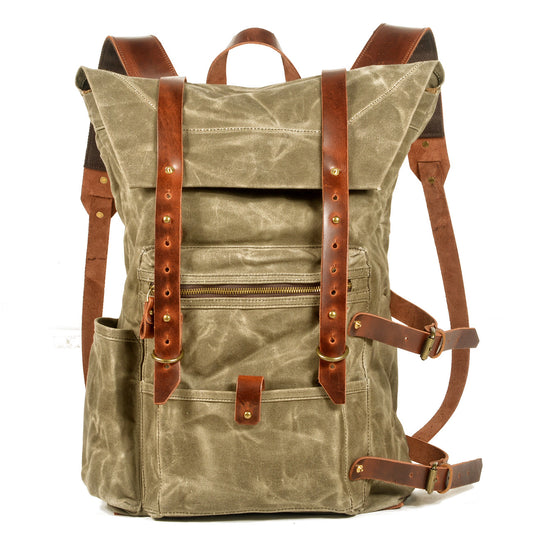
La toile offre un look classique et une bonne résistance à l'abrasion, mais nécessite un traitement pour repousser la pluie. Le cuir vieillit magnifiquement et protège bien, mais ajoute du poids. Le nylon est léger et souvent le plus résistant aux intempéries. Choisissez en fonction du climat et de l'importance que vous accordez à l'apparence. De nombreux voyageurs associent un intérieur en nylon robuste à un extérieur en cuir ou en toile cirée pour le meilleur des deux mondes. Vous pouvez explorer nos collections de sacs en toile cirée durables et de sacs et étuis pour appareil photo dédiés, ou associer un boîtier compact à l'un de nos sacs bandoulière pour une photographie de rue rapide. Adapter le matériau à votre destination rendra votre équipement et vos épaules plus heureux.
Foire aux questions
Combien d'objectifs un sac photo de voyage devrait-il contenir ?
Un sac de voyage devrait contenir les objectifs que vous utiliserez réellement — généralement deux à quatre. Transporter plus de quatre objectifs lors d'un voyage entraîne un sac lourd et une fatigue décisionnelle sur le terrain. Choisissez un grand-angle, un standard et un objectif spécialisé, puis laissez le reste à la maison où ils sont en sécurité et assurés.
Un sac à dos ou une sacoche est-il préférable pour la photographie de voyage ?
Un sac à dos est idéal pour les kits lourds ou à plusieurs boîtiers et pour le confort toute la journée. Une sacoche est idéale pour les kits légers et un accès rapide en ville. Si vous photographiez principalement avec un boîtier et quelques objectifs en marchant, une sacoche garde votre appareil photo à portée de main en une demi-seconde et ne quitte jamais votre champ de vision où vous pouvez le surveiller.
Ai-je besoin d'une housse de pluie si le sac est résistant à l'eau ?
Oui, pour les voyages sérieux. Le tissu résistant à l'eau supporte la bruine ; une housse de pluie supporte une véritable tempête et bloque également la poussière lors de longs trajets en bus ou en train dans des régions humides où une seule fermeture éclair granuleuse peut gâcher un voyage.
Puis-je transporter du matériel photo comme bagage cabine ?
Dans la plupart des régions, oui, mais les règles varient selon le transporteur et le pays. Gardez les batteries dans votre bagage à main, jamais en soute, et vérifiez les limites de taille de la compagnie aérienne avant de voler. Un sac photo pour les photographes de voyage adapté à la cabine doit respecter les dimensions des articles personnels des principales compagnies aériennes afin d'éviter de le faire enregistrer à la porte d'embarquement.
Comment empêcher mon équipement de bouger à l'intérieur du sac ?
Utilisez tous les séparateurs fournis avec le sac, puis ajoutez-en un de plus que ce que vous pensez nécessaire afin que chaque article soit calé des deux côtés. Une petite pochette de chiffons en microfibre comble le dernier espace et sert également de kit de nettoyage en déplacement.
Conclusion
Les grands sacs photo pour les photographes de voyage sont planifiés, pas seulement achetés. Adaptez la taille du sac à votre équipement réel, exigez un rembourrage épais et une véritable housse de pluie, adaptez le style à votre prise de vue et organisez votre équipement par région afin d'être prêt partout, des marchés asiatiques aux sentiers américains. Mesurez votre équipement avant d'acheter, évitez les erreurs courantes de capacité et investissez dans les points de tension qui cèdent en premier.
Quand renouveler son sac photo
Même un bon sac a un signal de fin de vie. Remplacez-le lorsque les fermetures éclair grincent ou se fendent, lorsque le rembourrage est tellement compressé que les objectifs se touchent, ou lorsque votre équipement a dépassé la capacité que vous avez mesurée deux voyages auparavant. Un sac qui ne se ferme plus correctement est un risque, pas une économie. Inversement, ne changez pas simplement parce qu'un nouveau modèle existe ; si votre sac actuel convient à votre équipement et le protège, l'argent sera mieux dépensé pour un deuxième objectif ou une police d'assurance voyage. Le bon moment pour acheter est lorsque votre pratique photographique a clairement changé – un nouveau format de boîtier, un passage à de longs téléobjectifs pour la faune, ou un déplacement des escapades citadines vers des treks de plusieurs jours. Planifiez le renouvellement en fonction du voyage qui l'exige, afin que le nouveau sac trouve immédiatement sa place plutôt que de rester dans un placard à prendre la poussière.
Avec une bonne planification de la capacité et une bonne protection, votre sac devient invisible – vous permettant de vous concentrer sur la prise de vue. Explorez nos sacs et étuis pour appareil photo et nos collections prêtes pour le voyage pour constituer un kit en lequel vous pouvez avoir confiance à chaque voyage.